
Ваша заявка или вопрос будут отправлены 10-ти наиболее подходящим по сферам деятельности сервисным центрам Москвы. Всего в Москве - 5 191 сервисный центр, которые ремонтируют 374 вида техники.
Замена батареи Asus ROG G751JL-BB17T29
Навигация
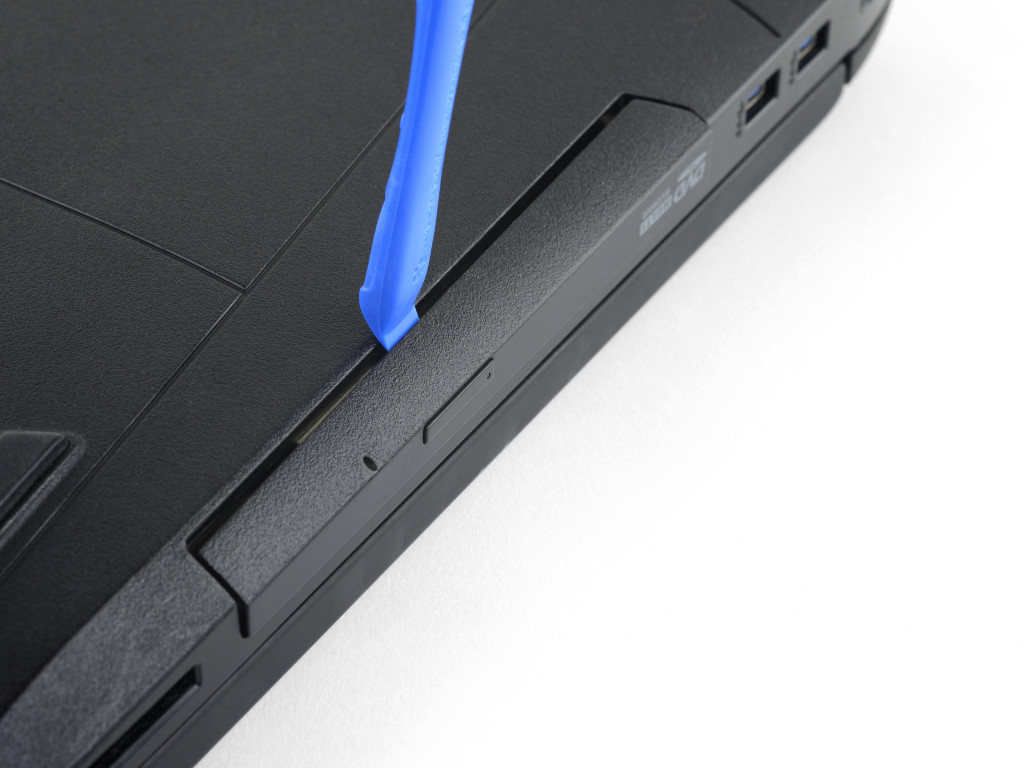
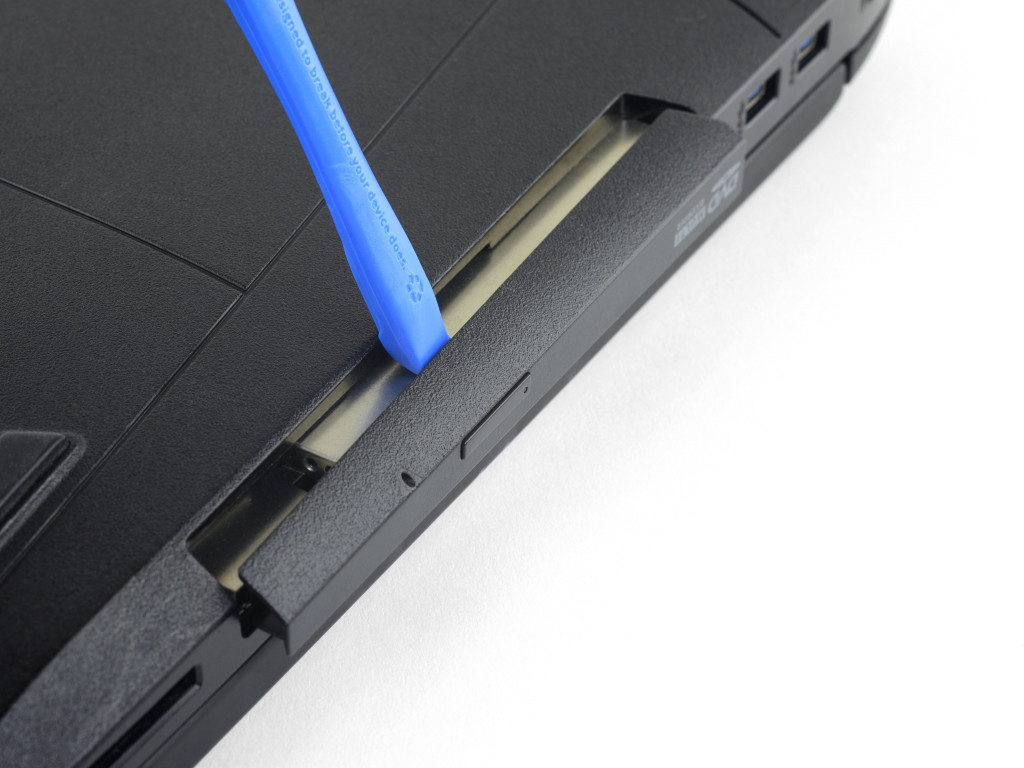
Шаг 1 Remove the optical drive
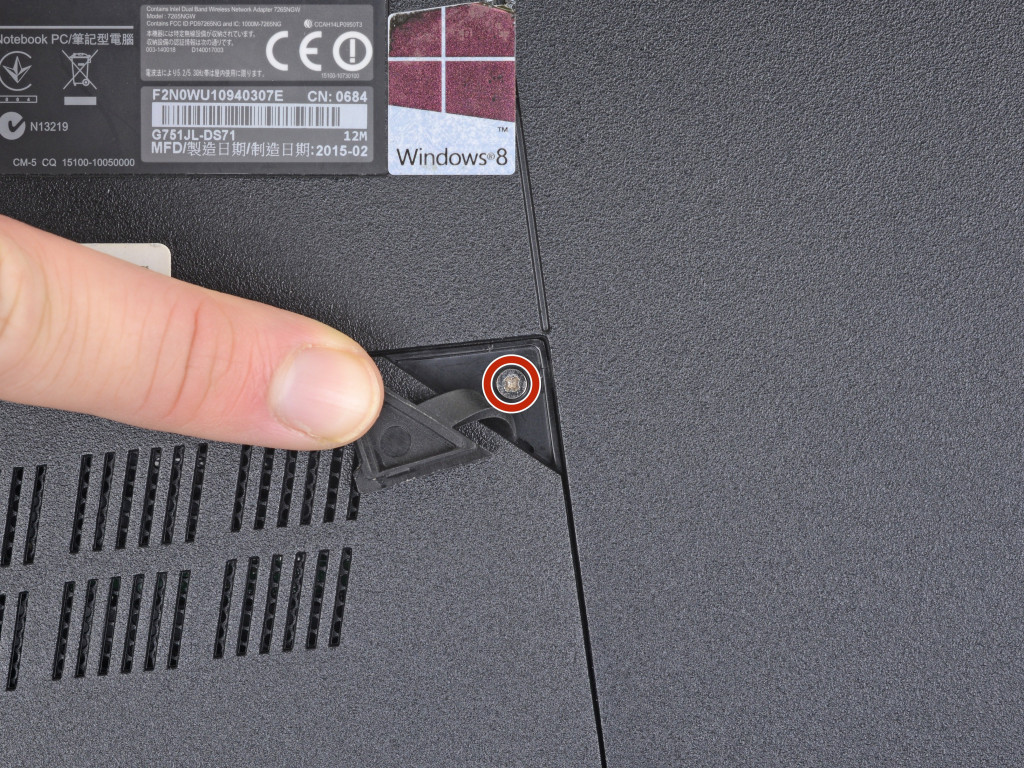
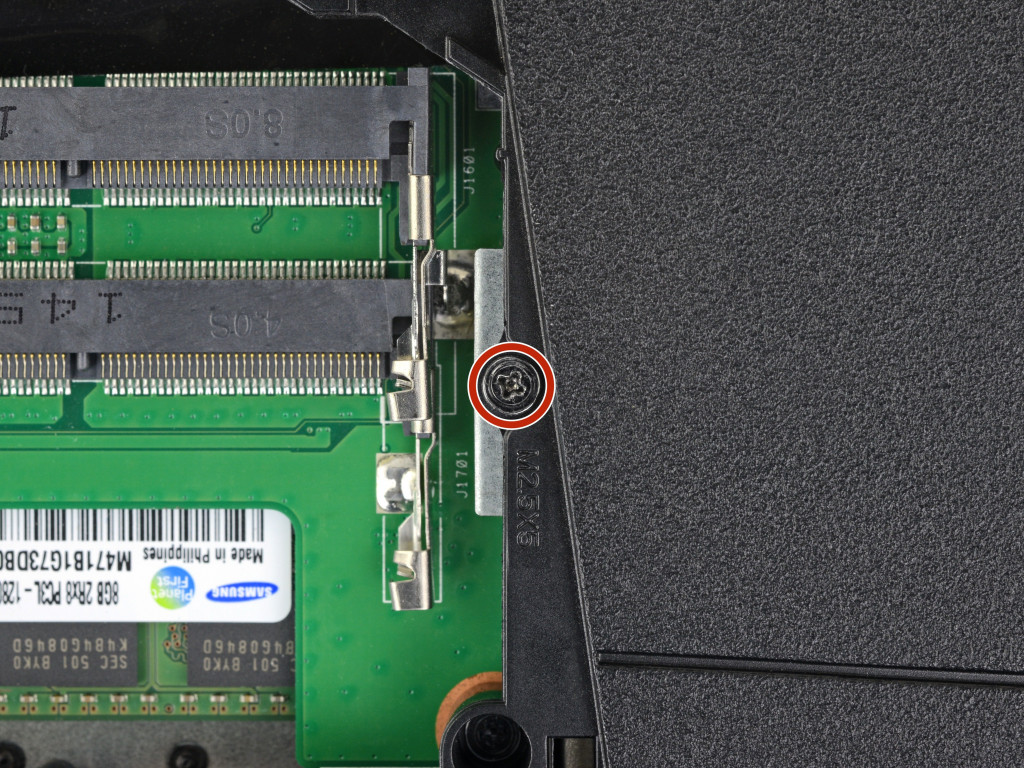
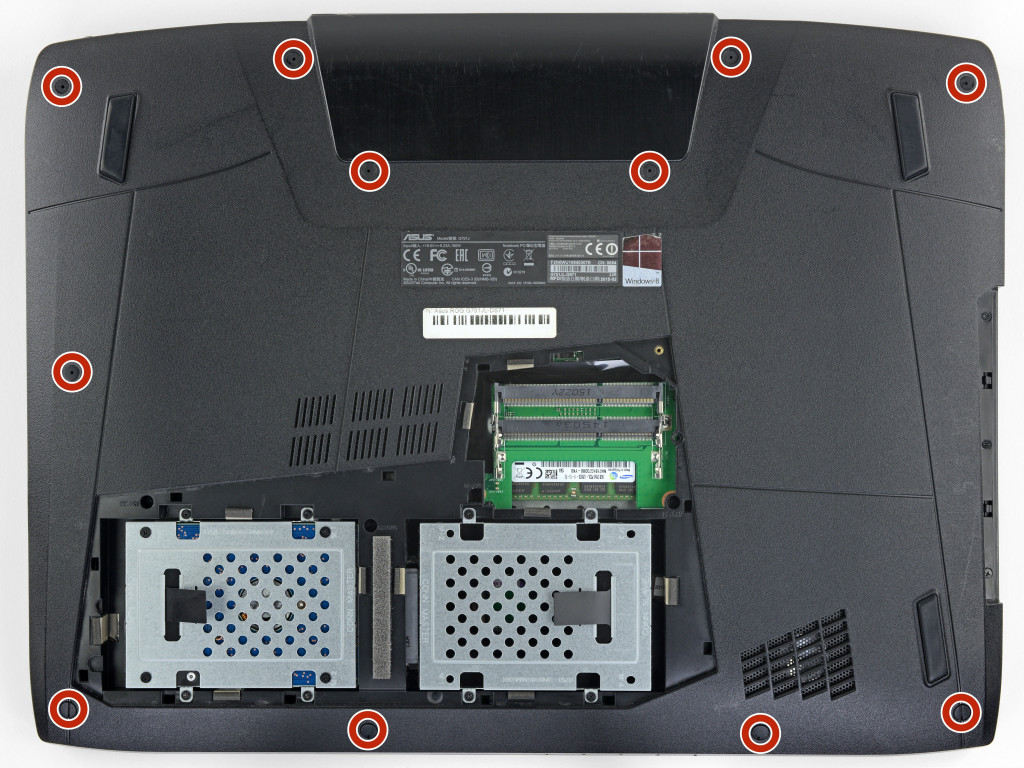
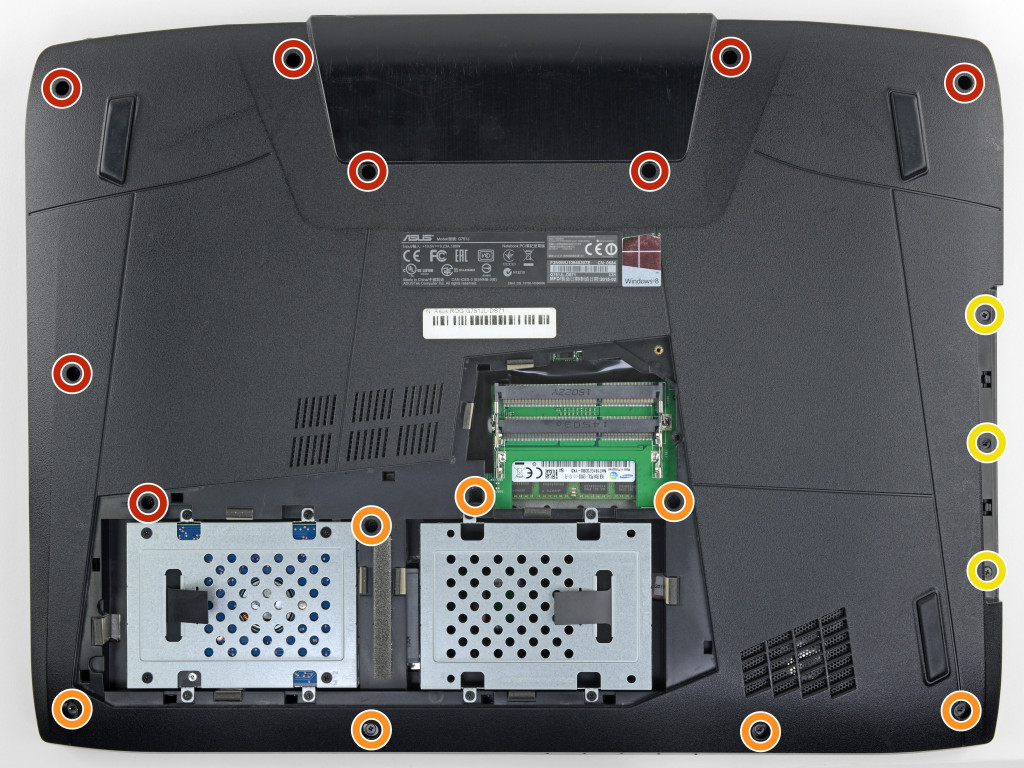
Шаг 2 Remove the case screws
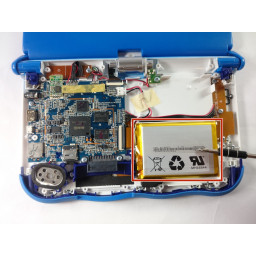
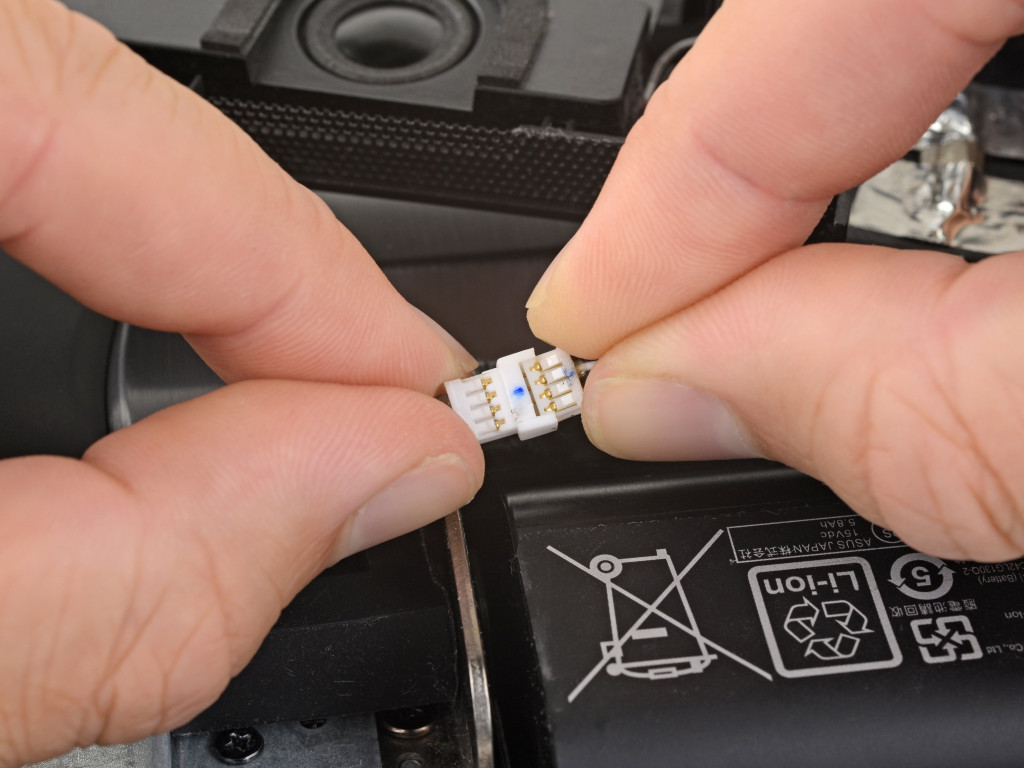
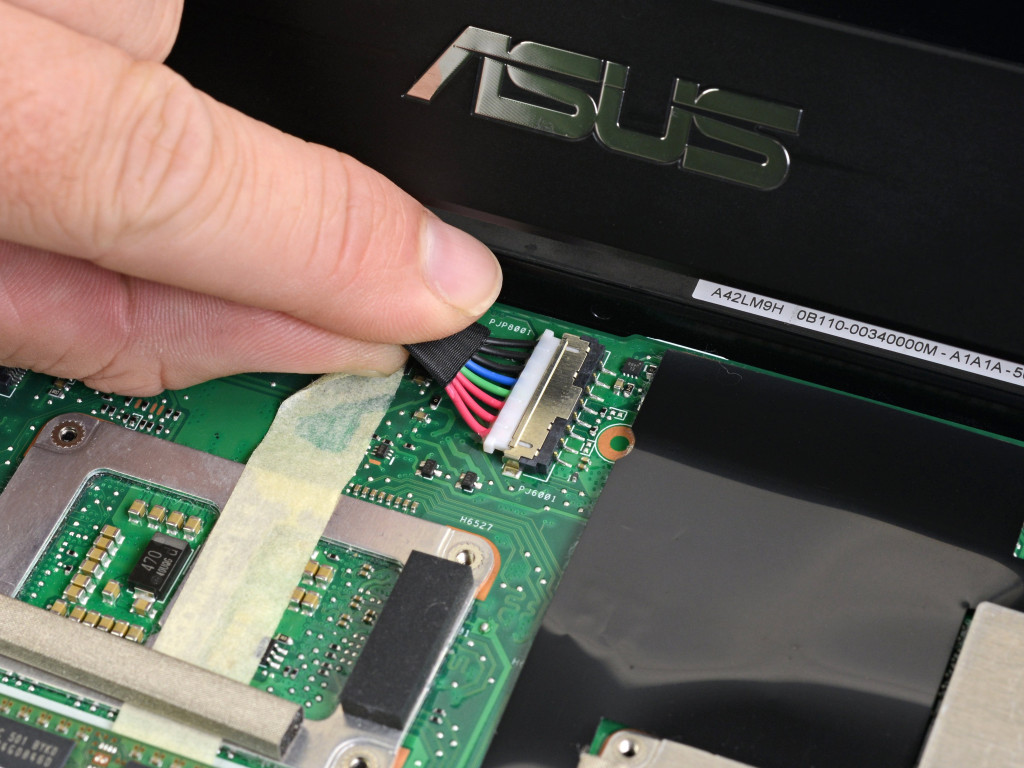
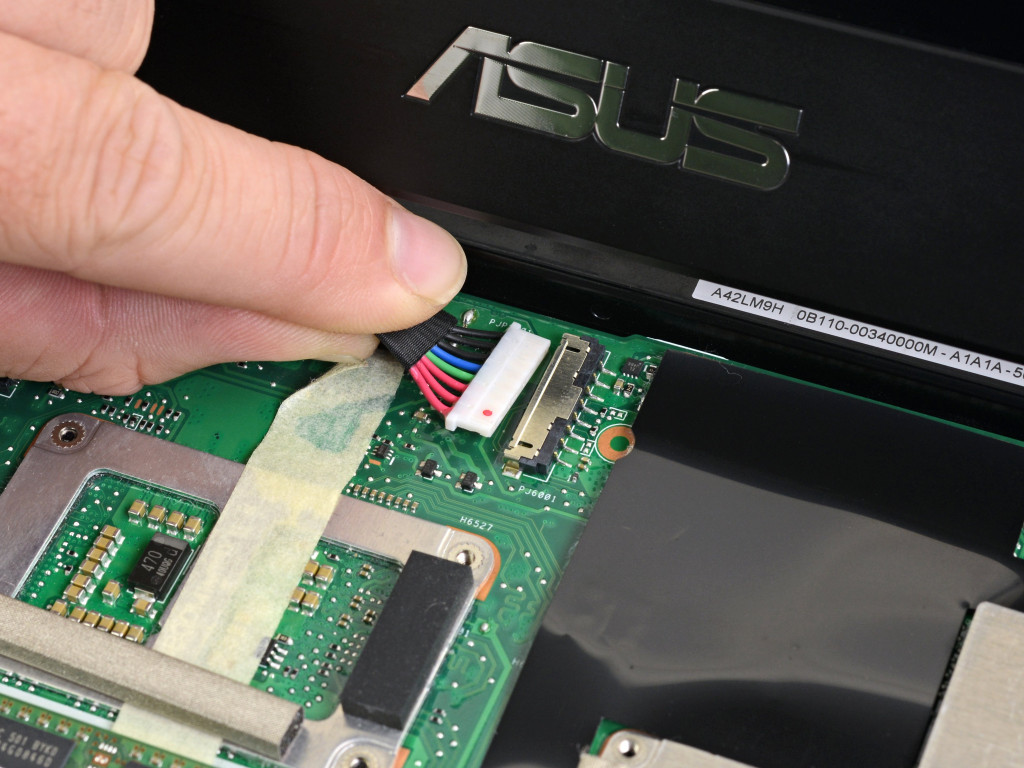
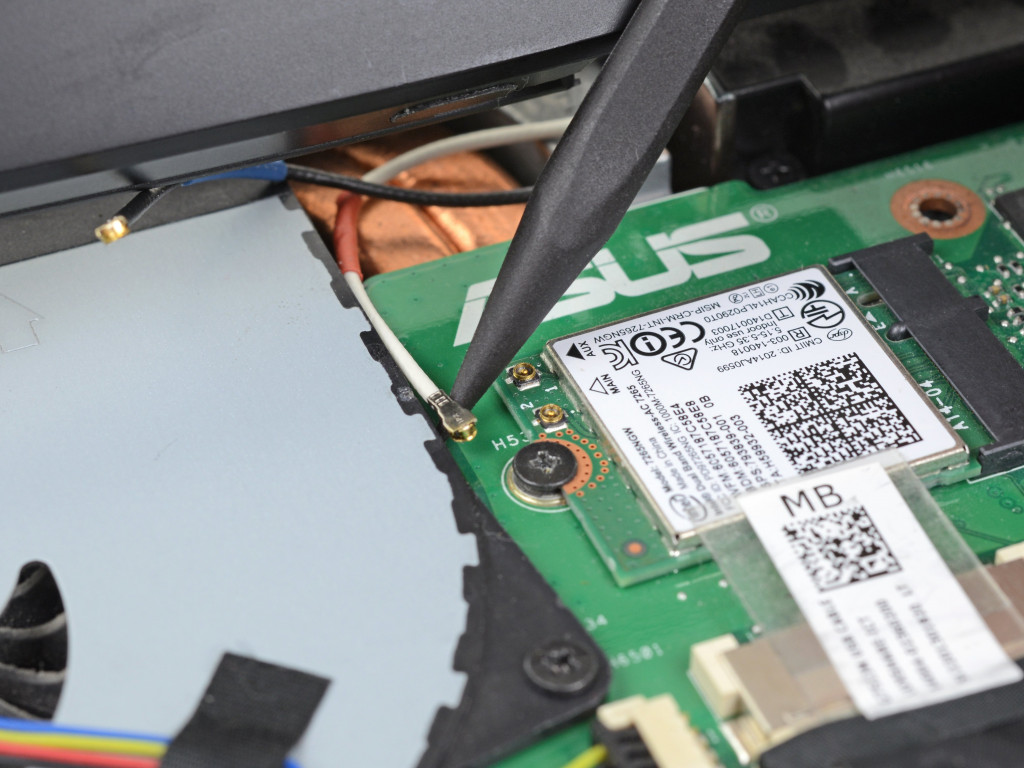
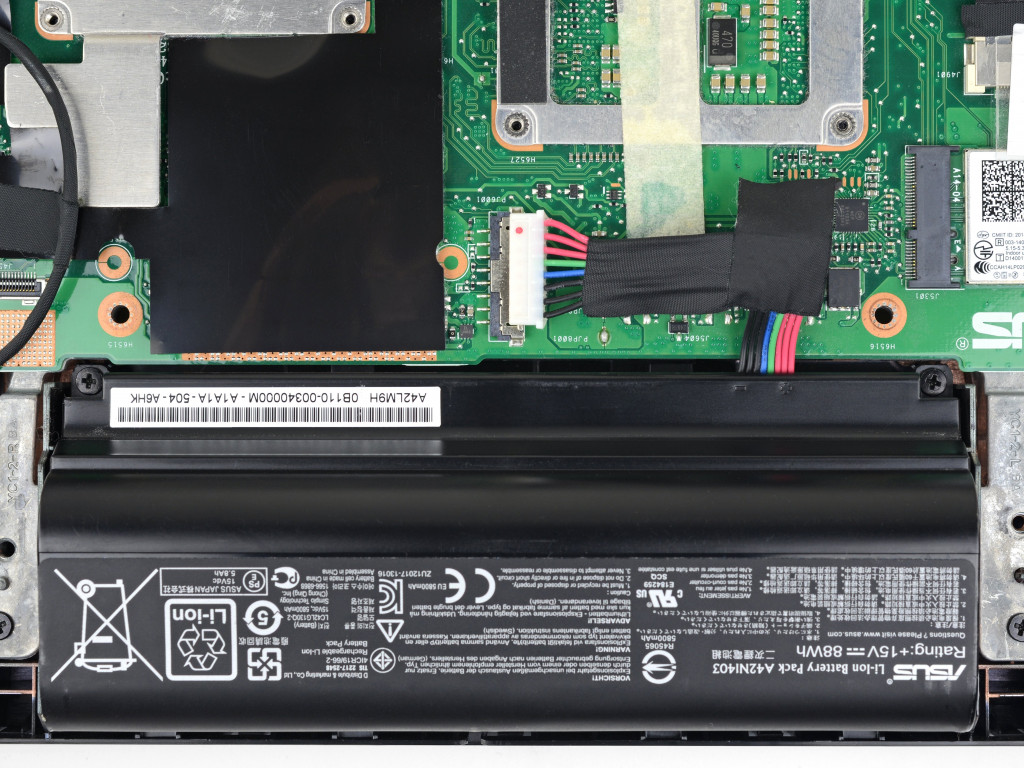
Шаг 3 Disconnect the battery
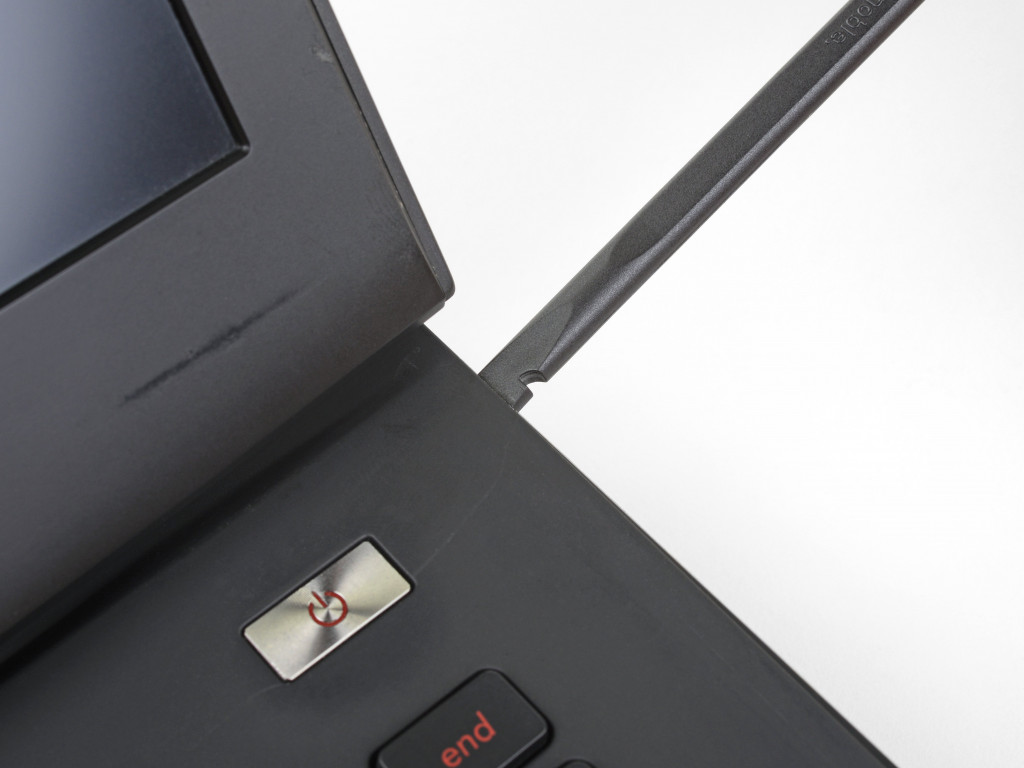
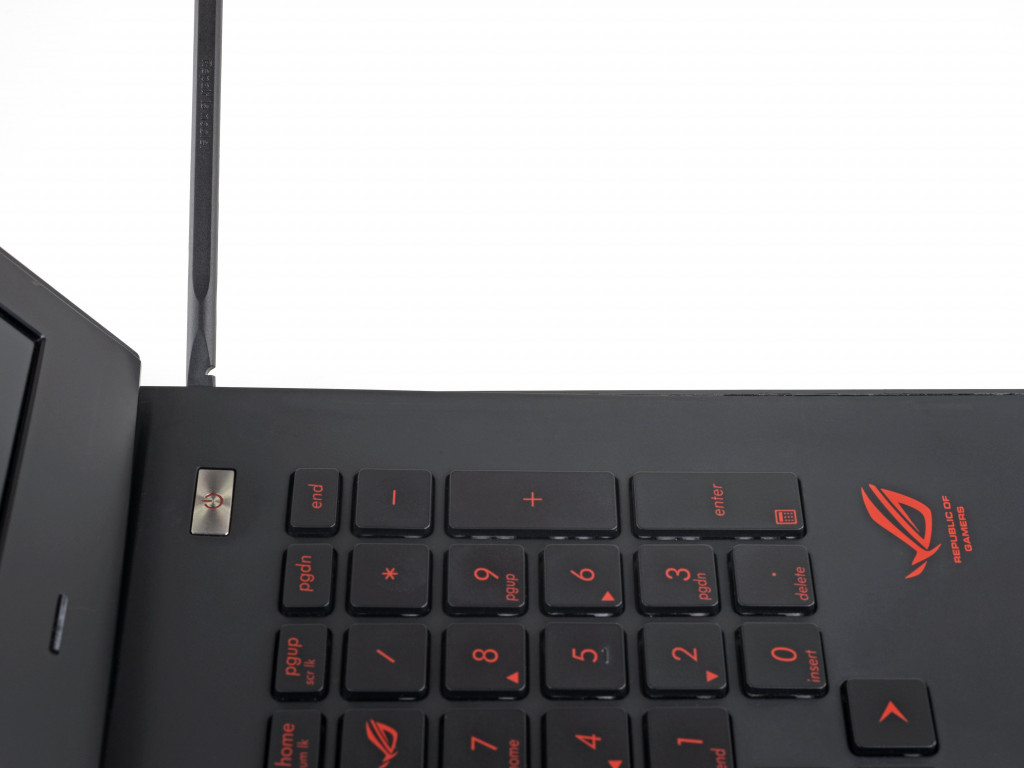
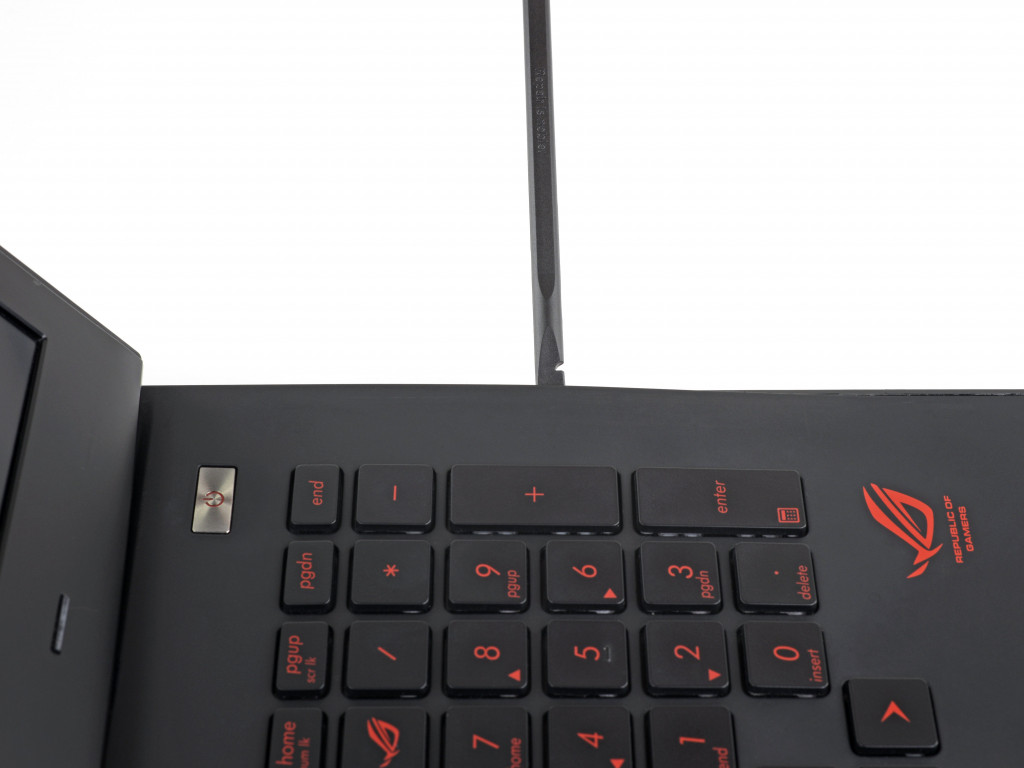
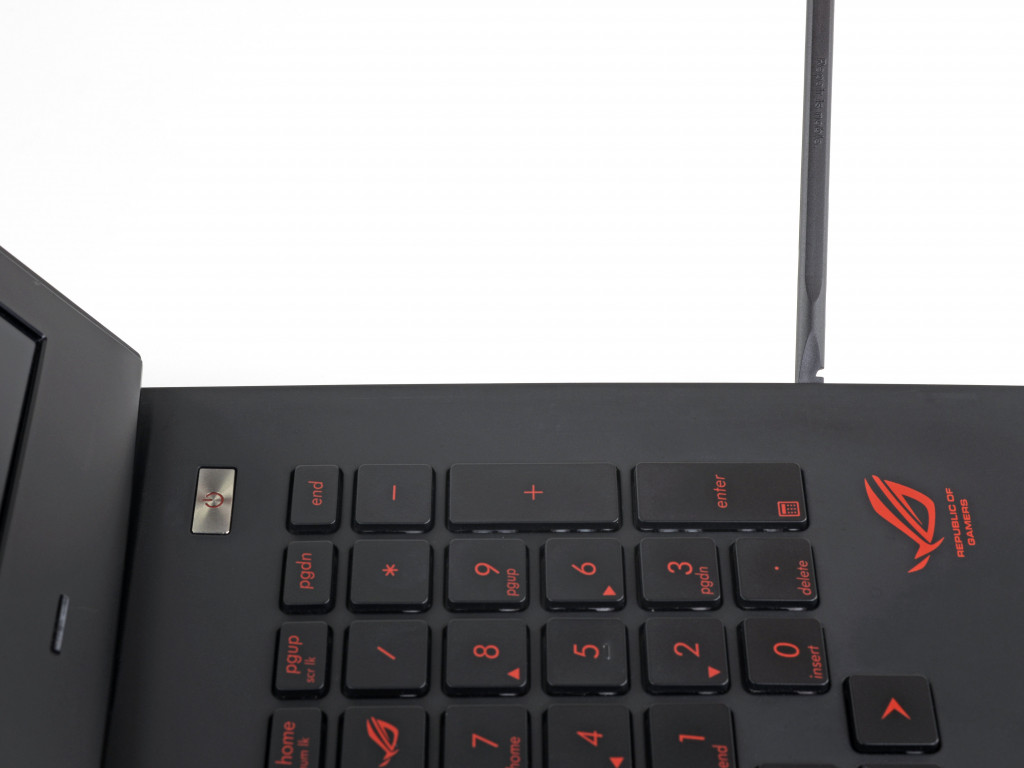
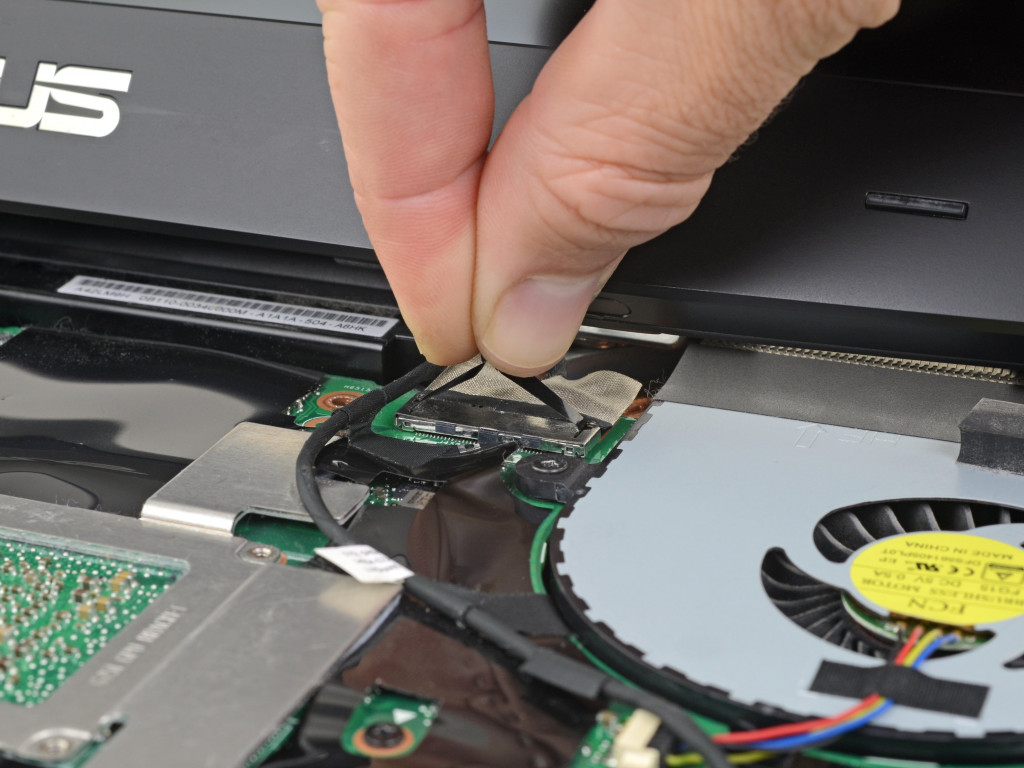
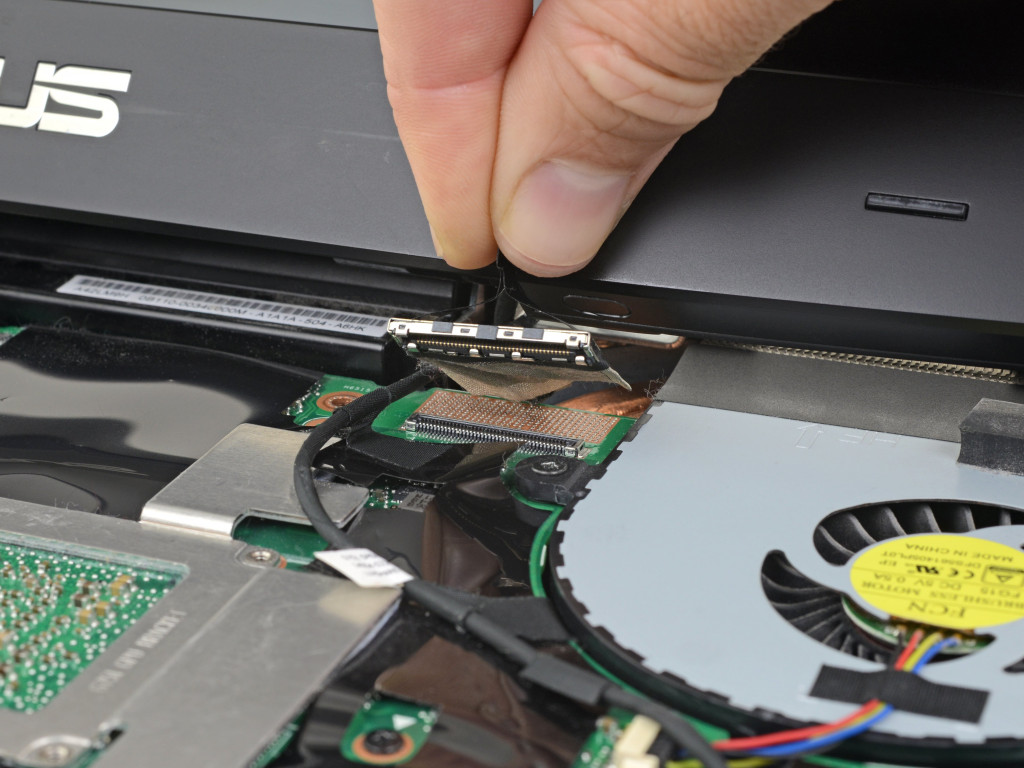
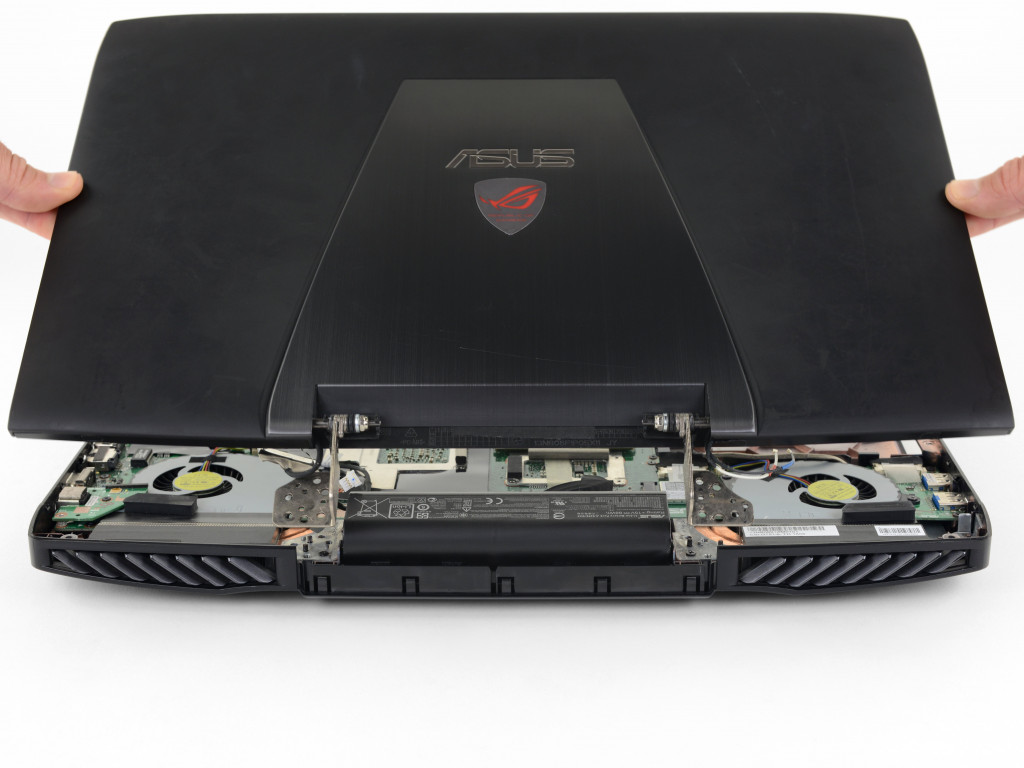
Шаг 4 Remove the display
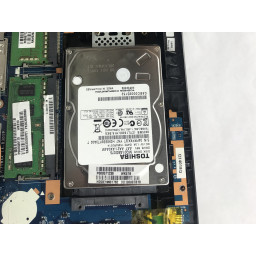
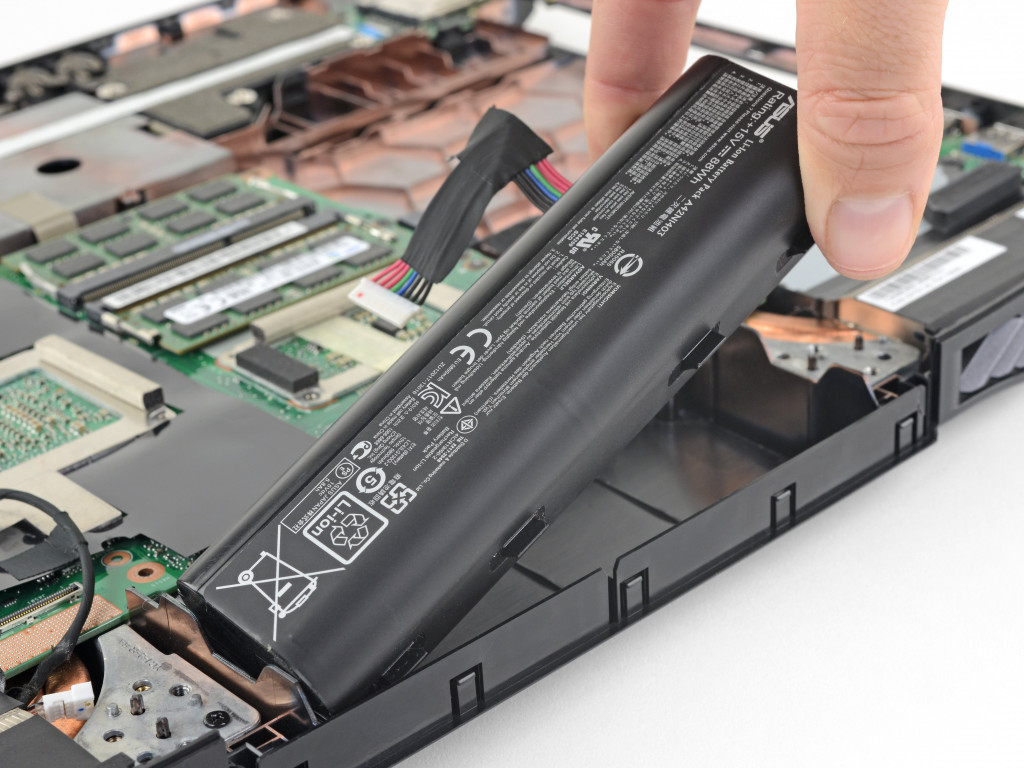
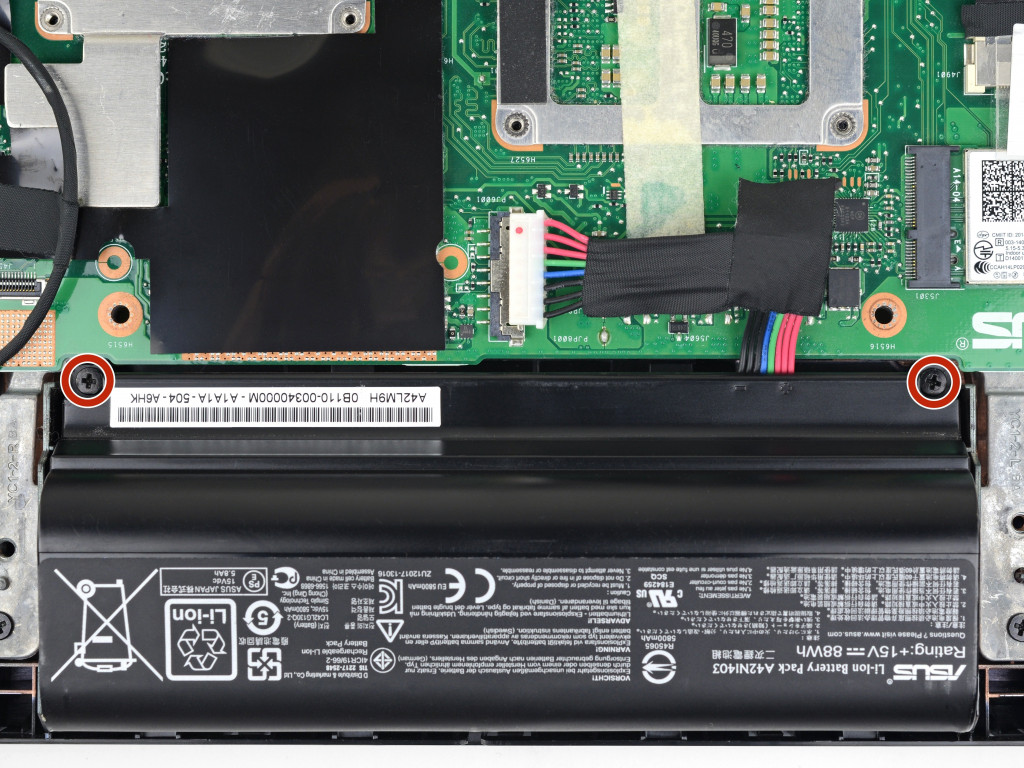
Шаг 5 Remove the battery
Шаг 6
Шаг 7
Pry the optical drive straight out of the laptop.
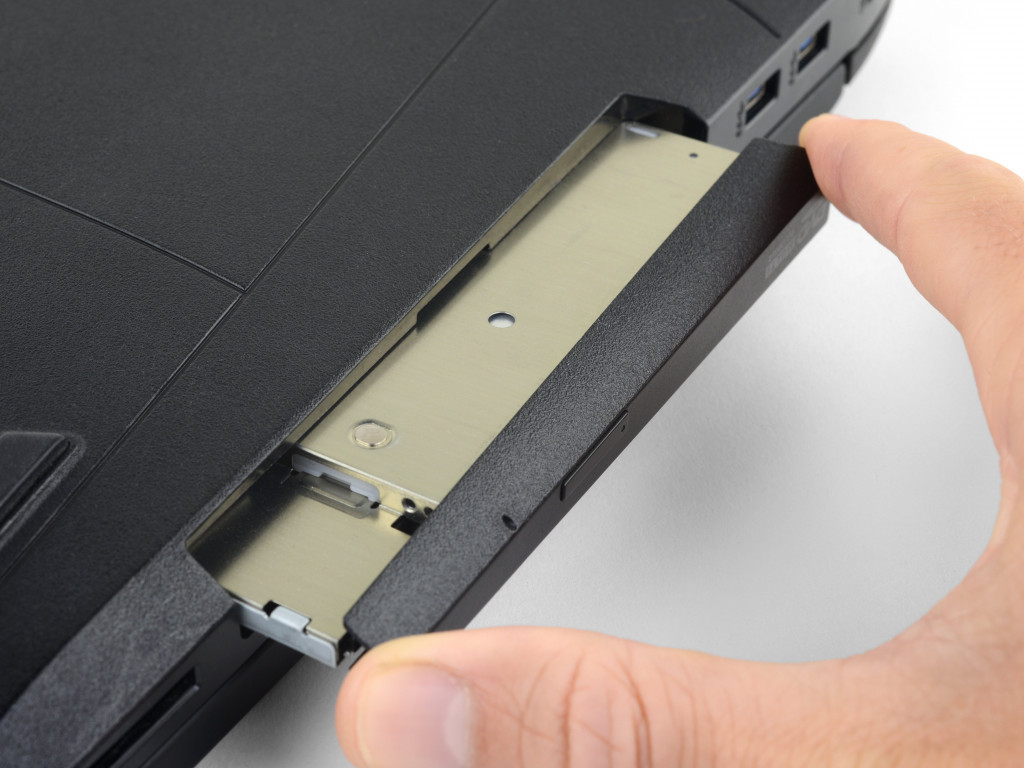
Remove the optical drive.
Шаг 8
Eight 8.8 mm screws
Seven 5.2 mm screws
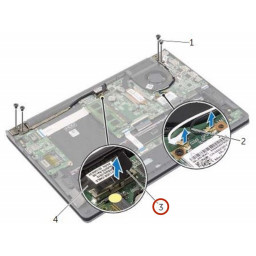
Three screws
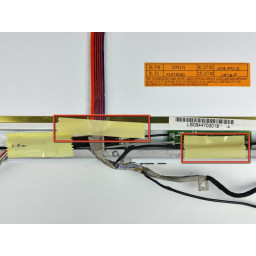
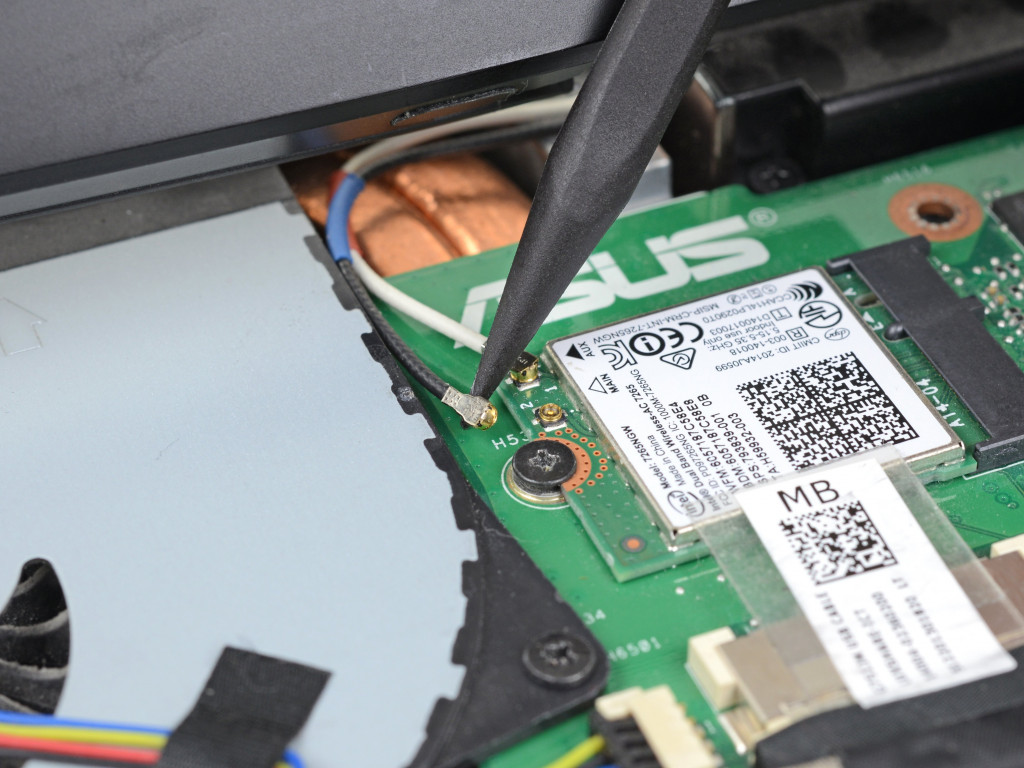
Шаг 9
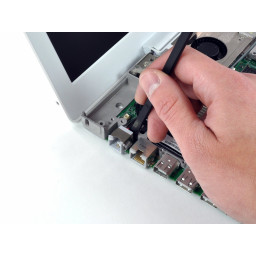
Follow the same procedure to disconnect the white antenna cable.
Шаг 10
Шаг 11
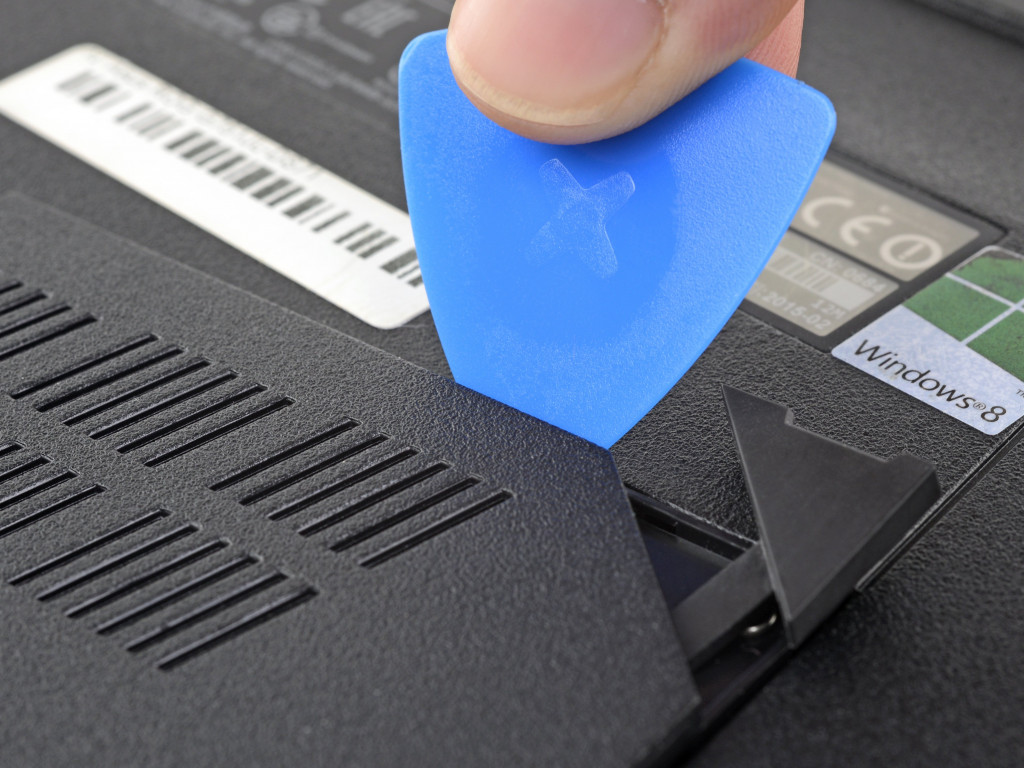
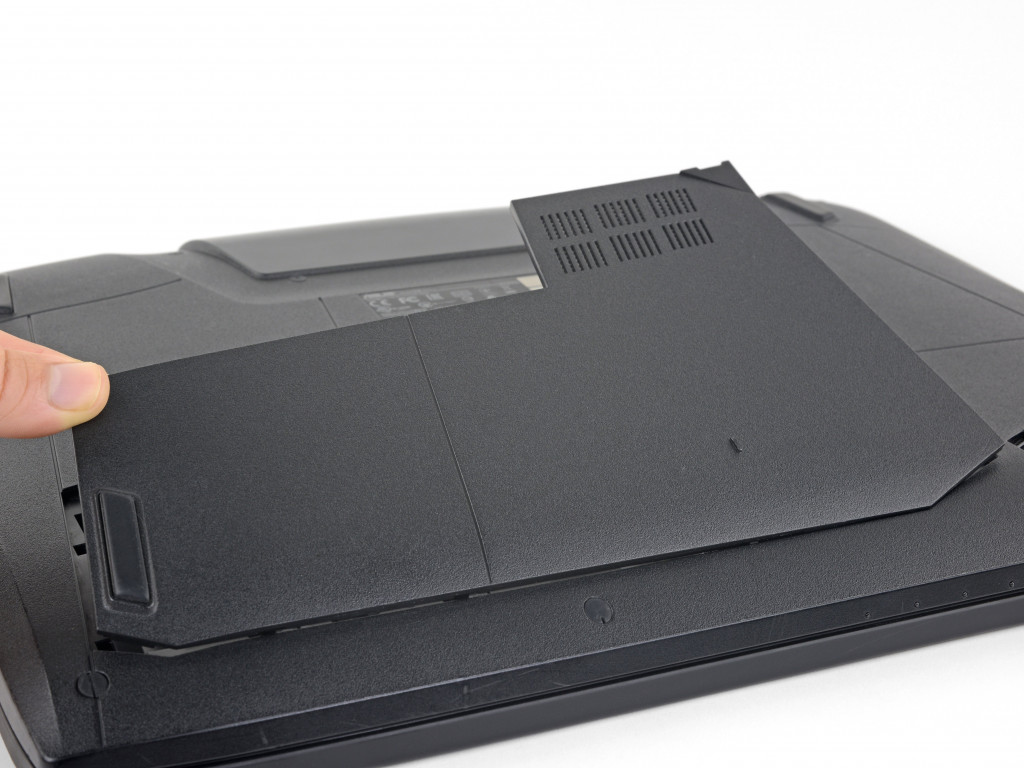
The door is held in place by small clips around its edges. Pry until you feel the nearest clips release.
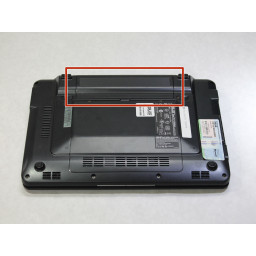
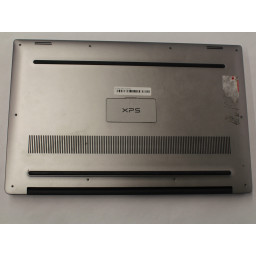
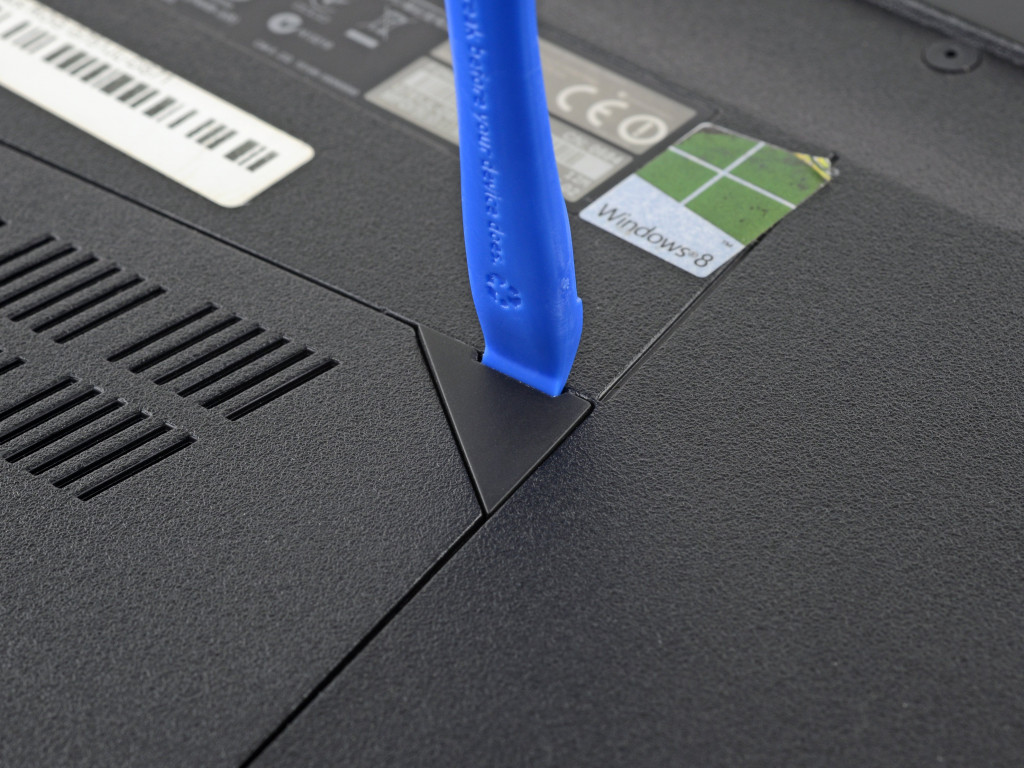
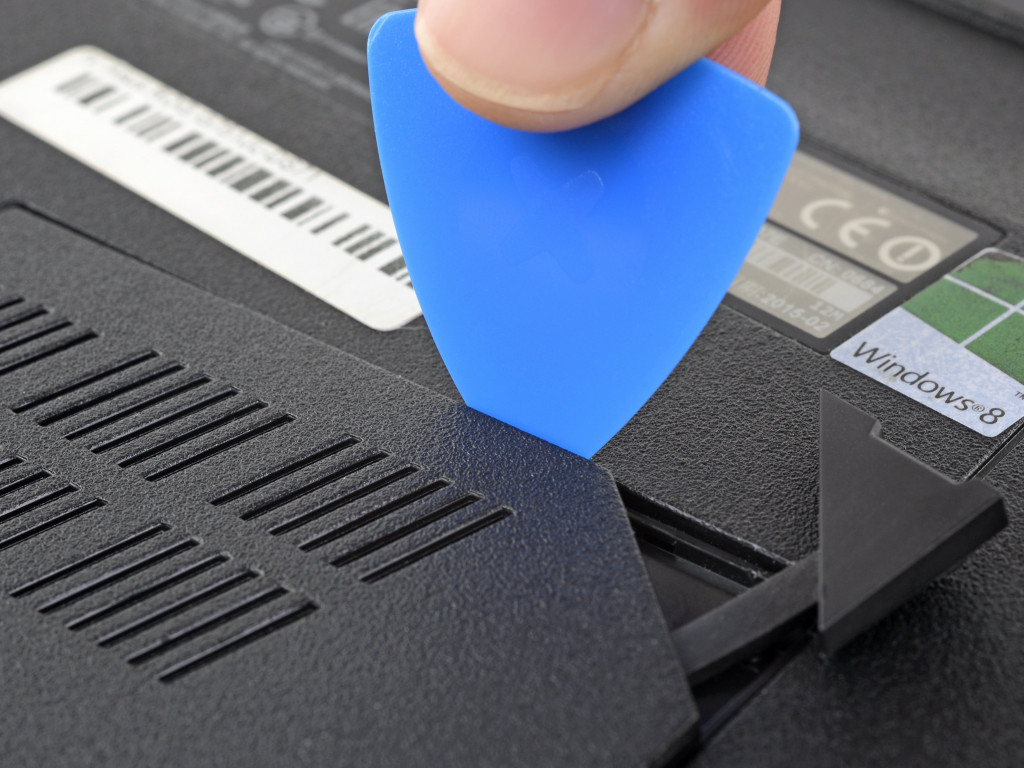
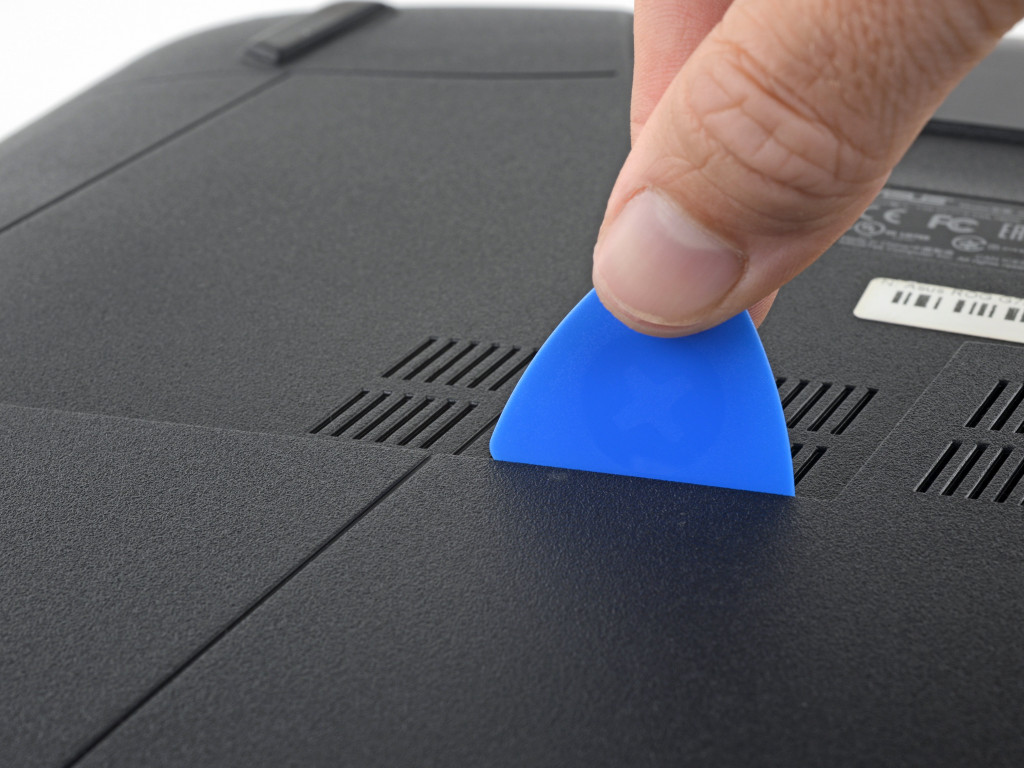
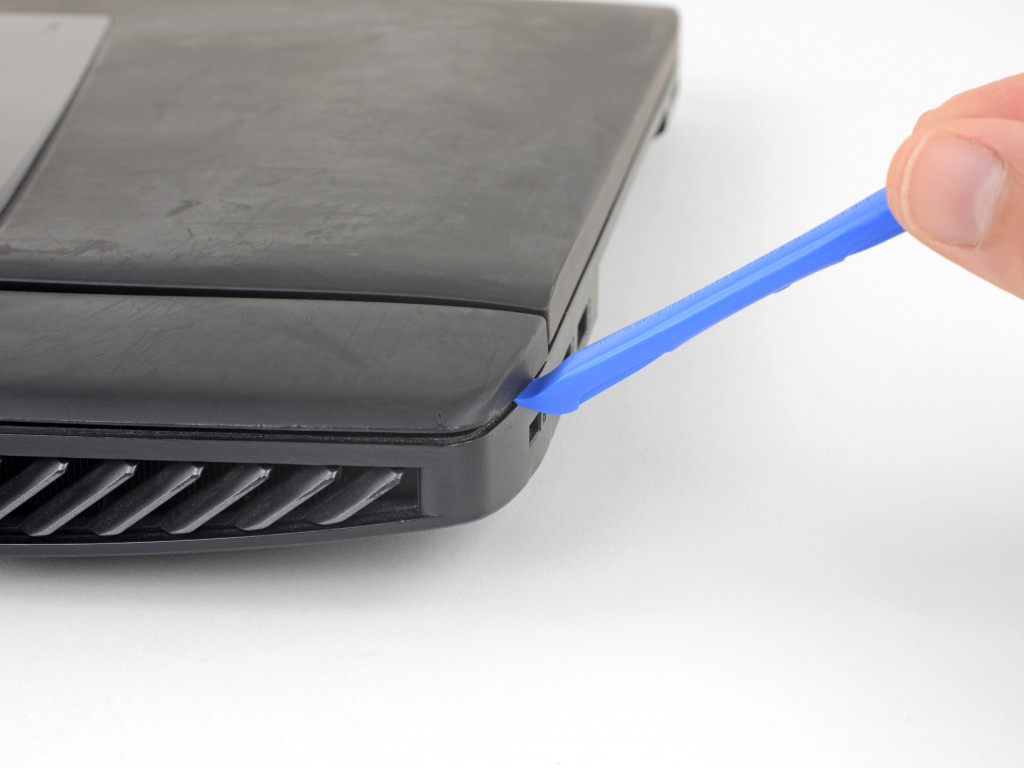
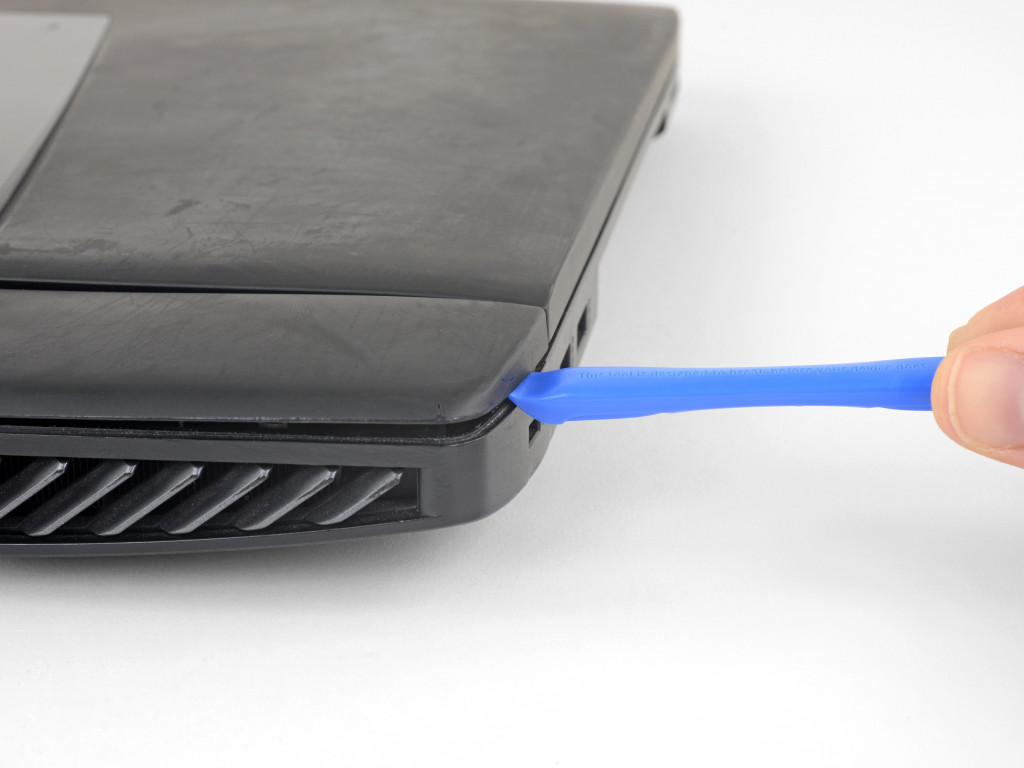
Шаг 12 Remove the battery cover
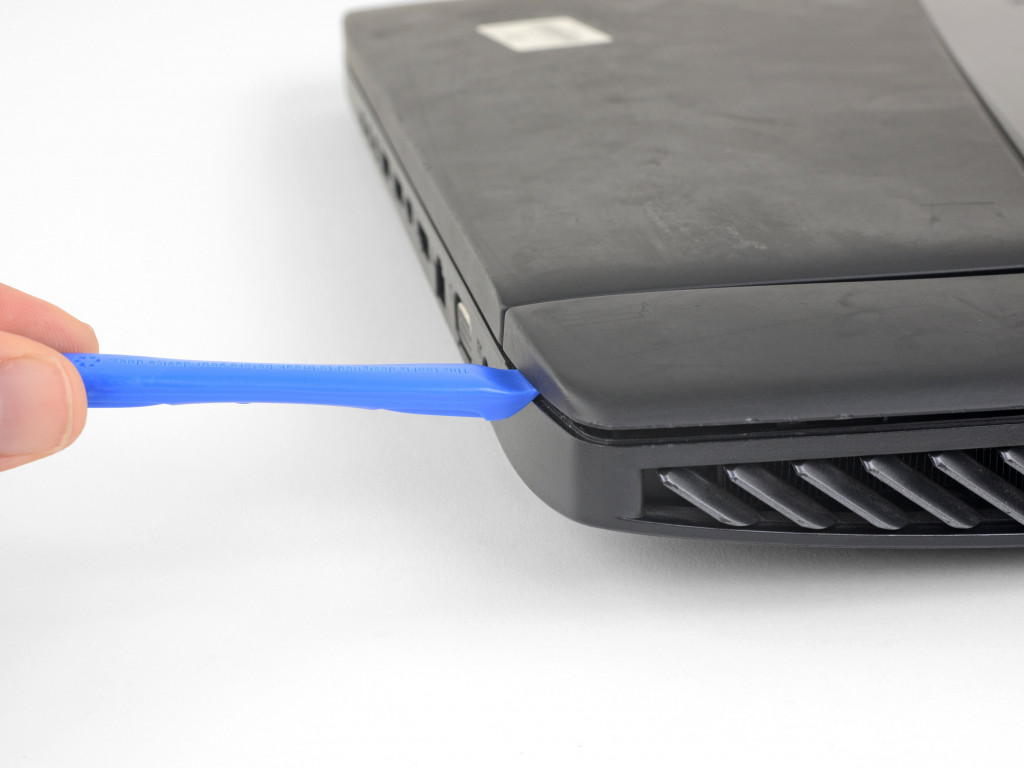
Use an opening pick to pry the left and right edges of the battery cover away from the laptop enough that you can grip the cover with your fingers.
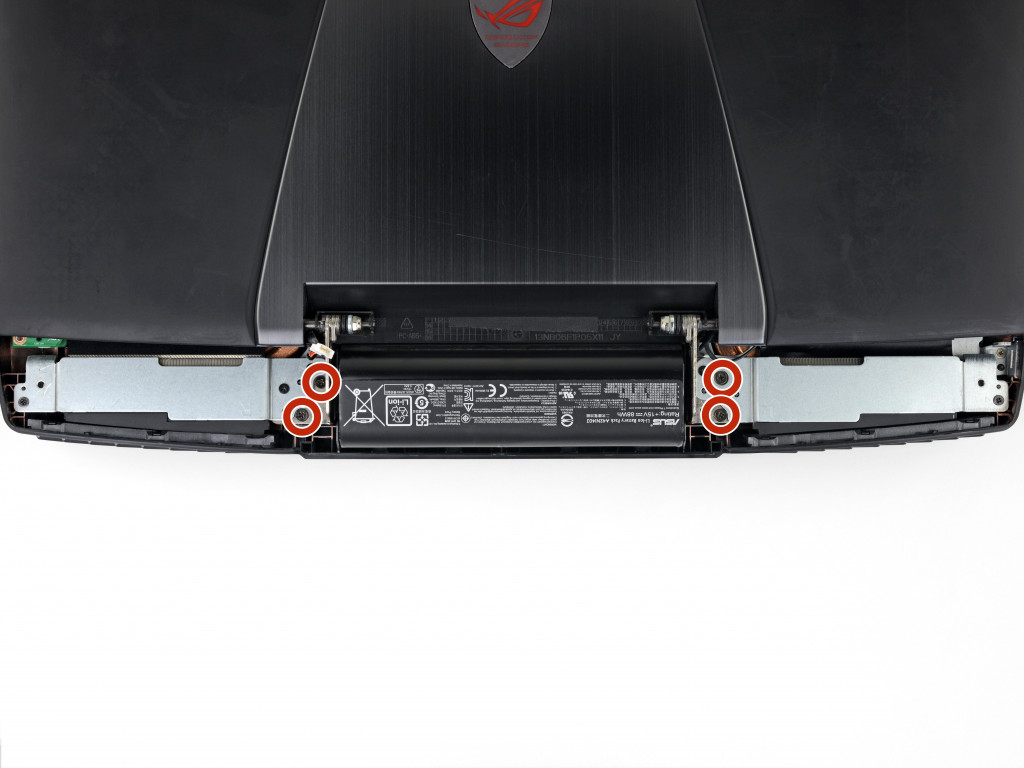
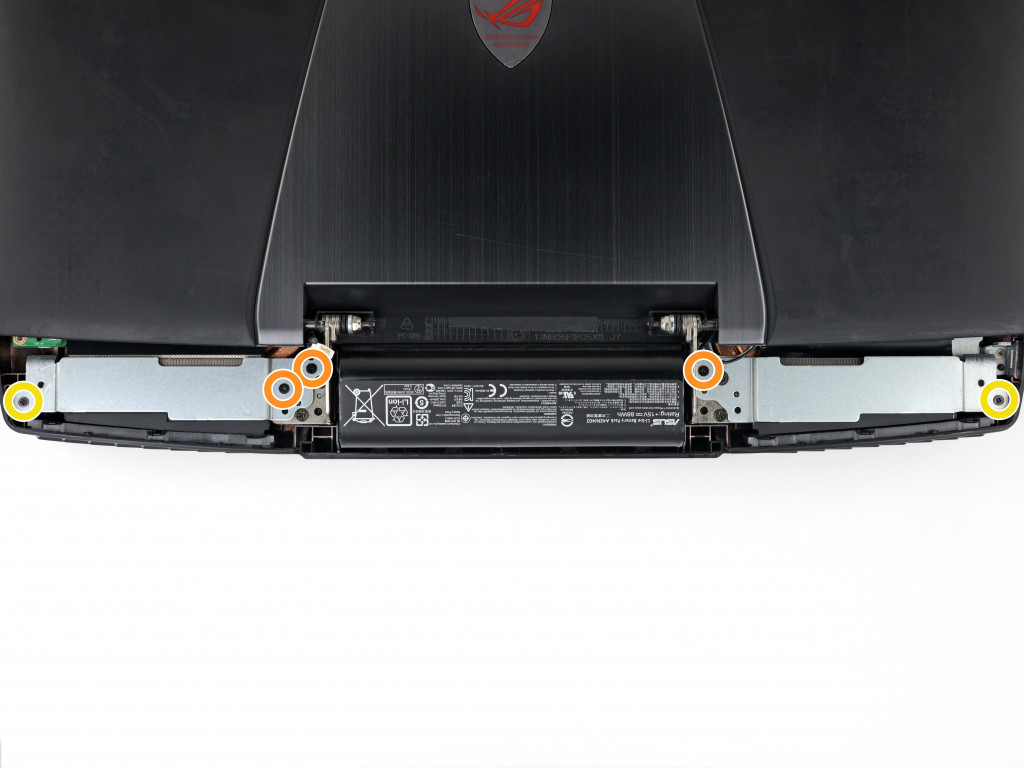
Шаг 13
Four 6.8 mm Phillips #0 screws
Three 8.6 mm Phillips #00 screws
Two 5.2 mm Phillips #00 screws

Шаг 14
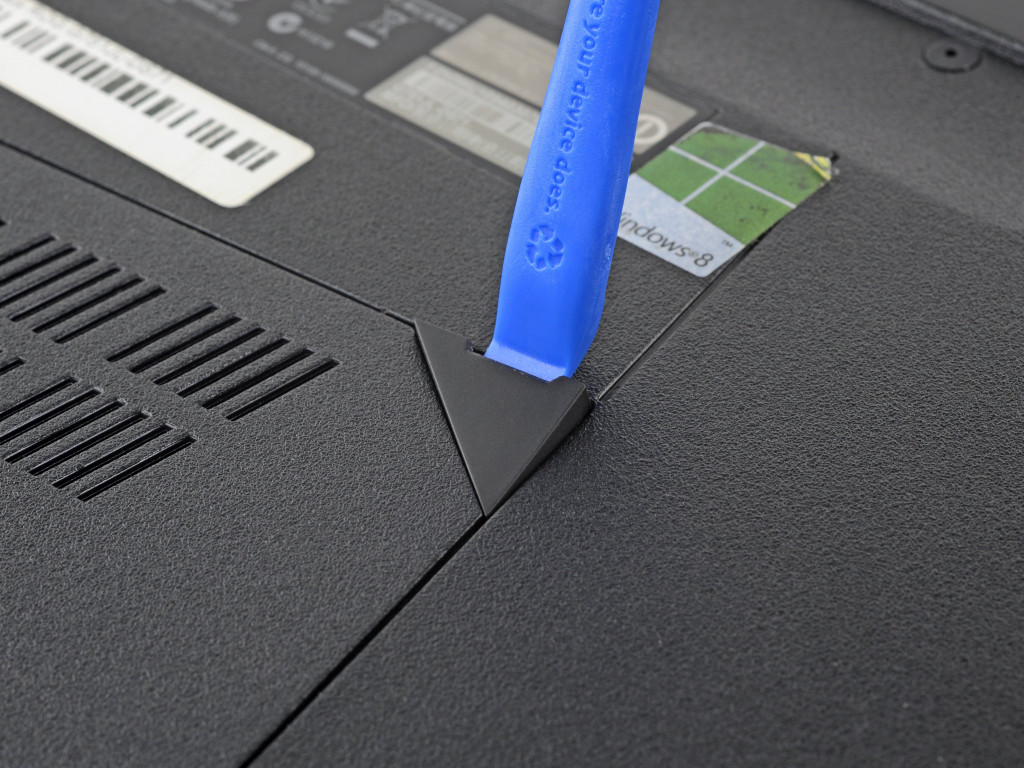
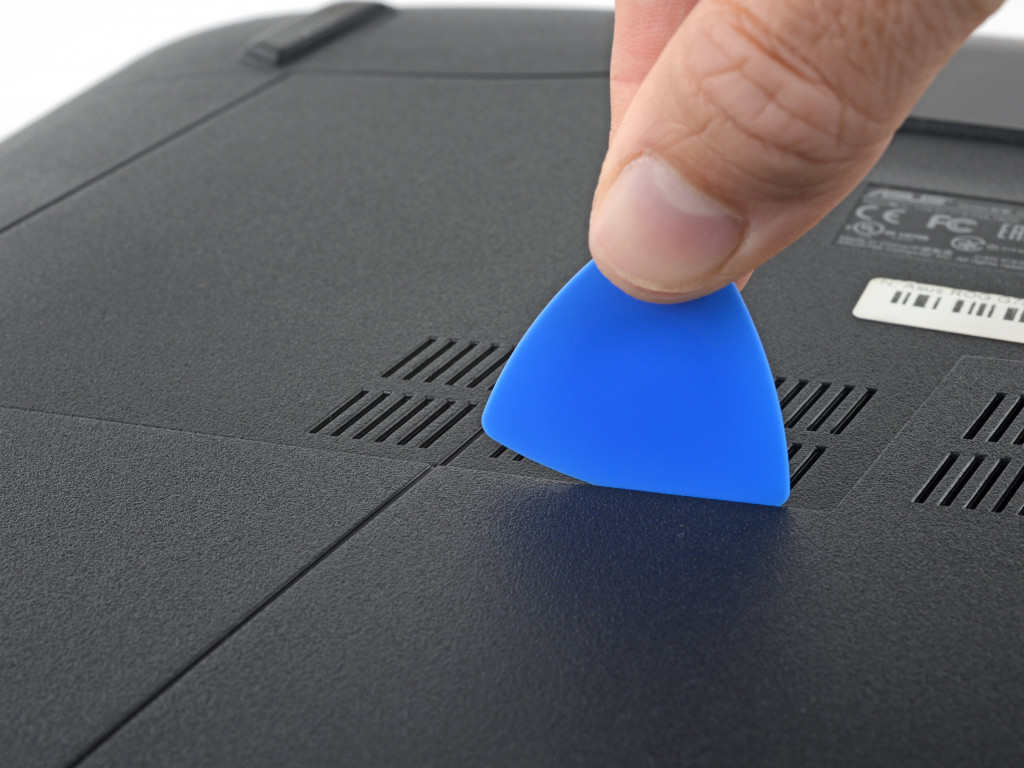
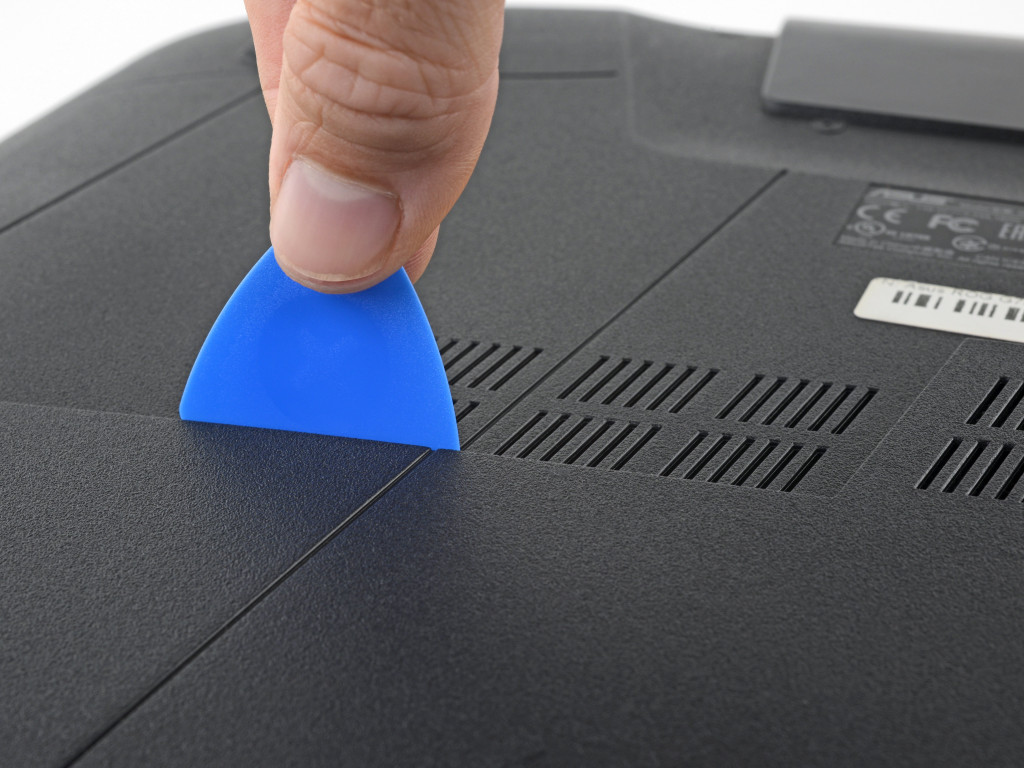
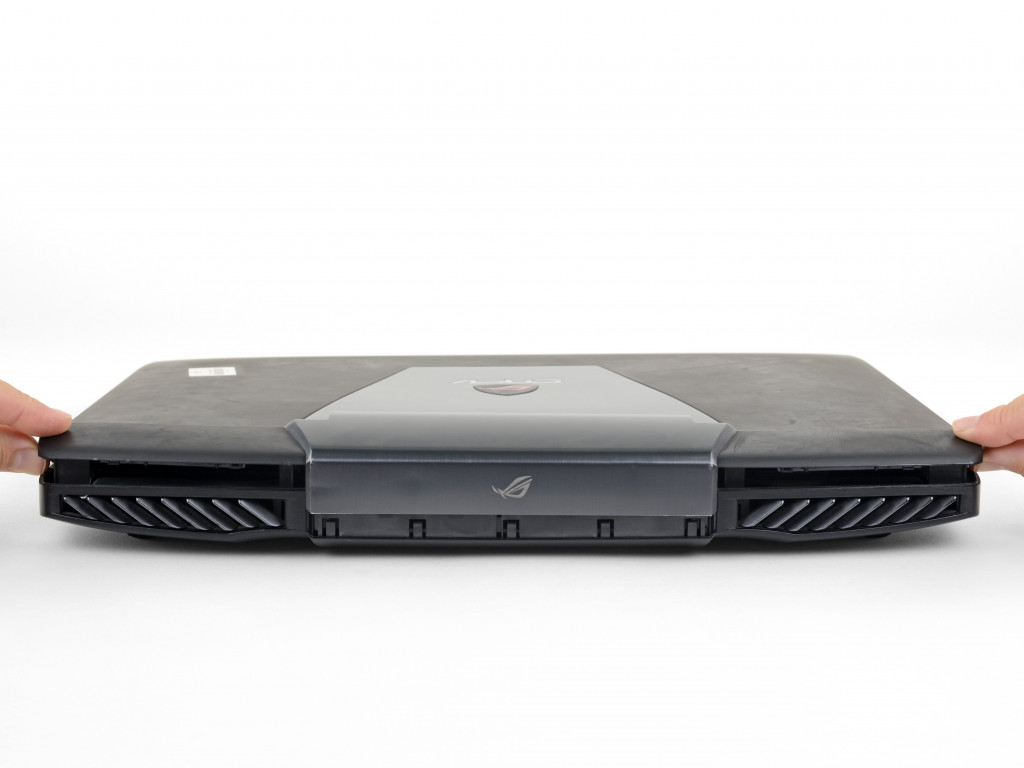
Pry the door up to release the clips closest to the pick.
Continue to slide the pick along the seam all the way around the door, prying as you go, until all the clips holding the door down have been released.
Шаг 15
Шаг 16
Шаг 17


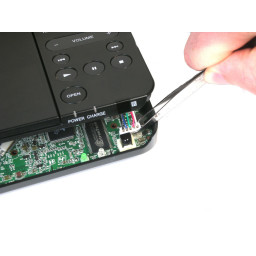
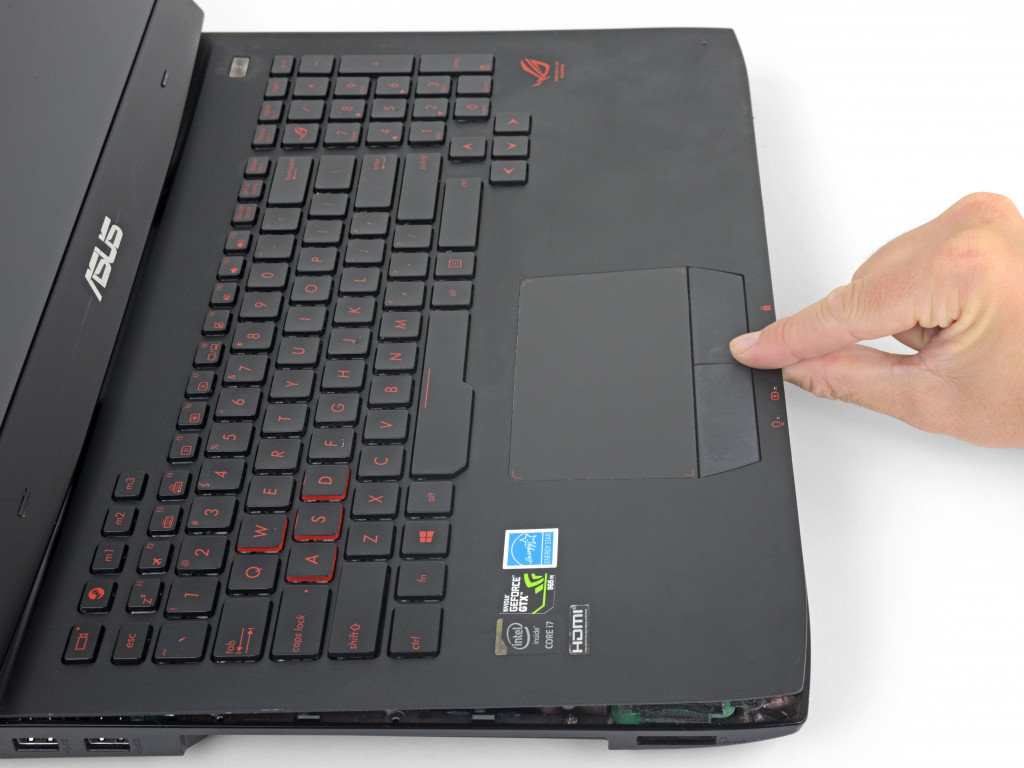
Шаг 18 Disconnect the speaker cable

Шаг 19
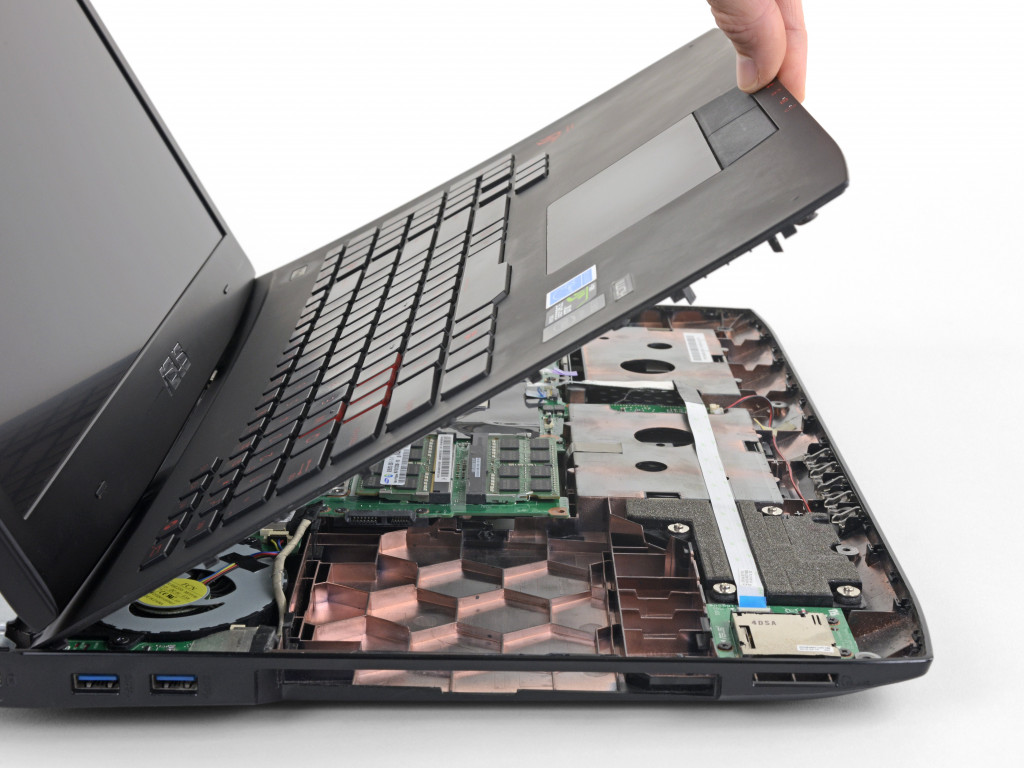
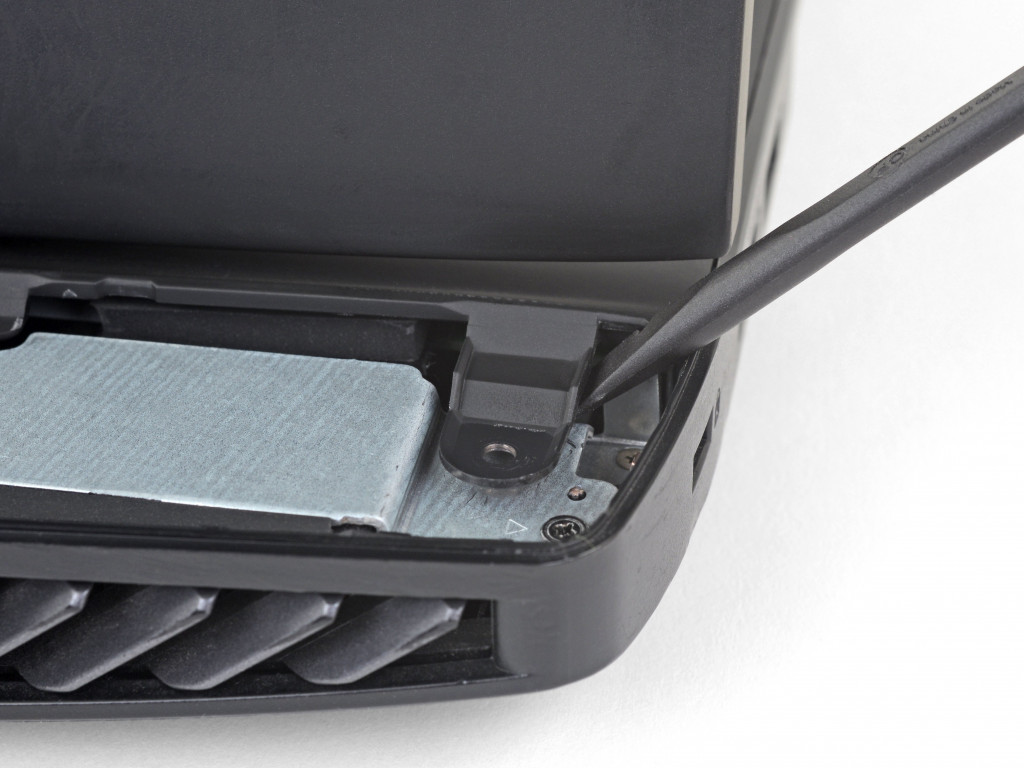
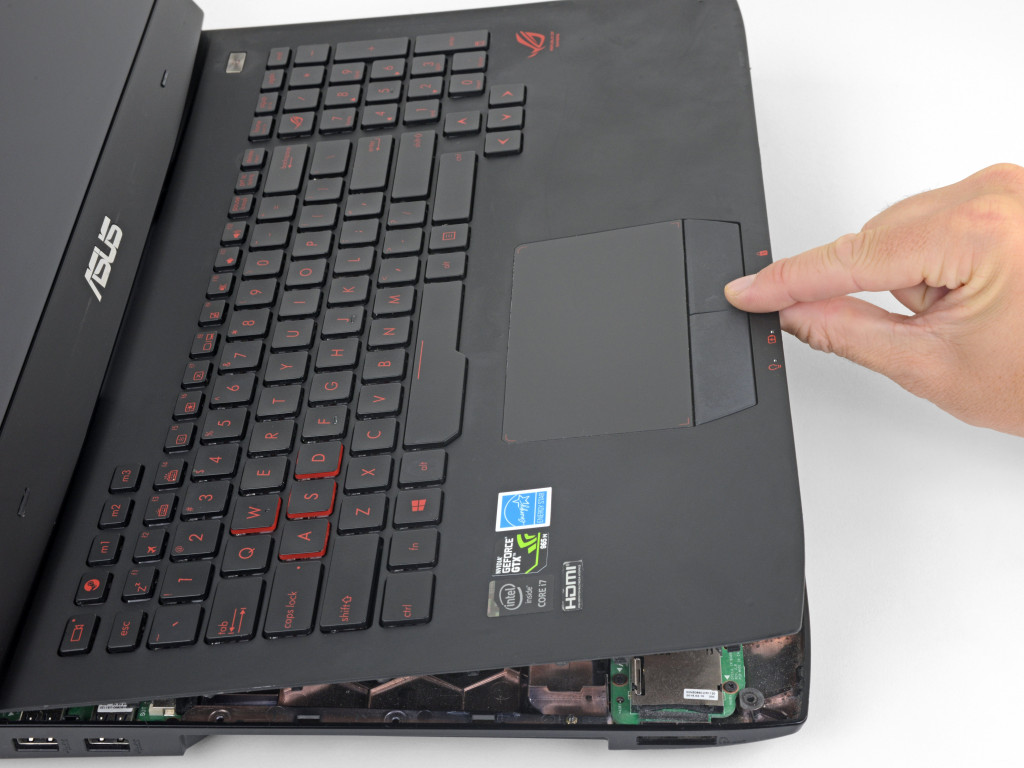
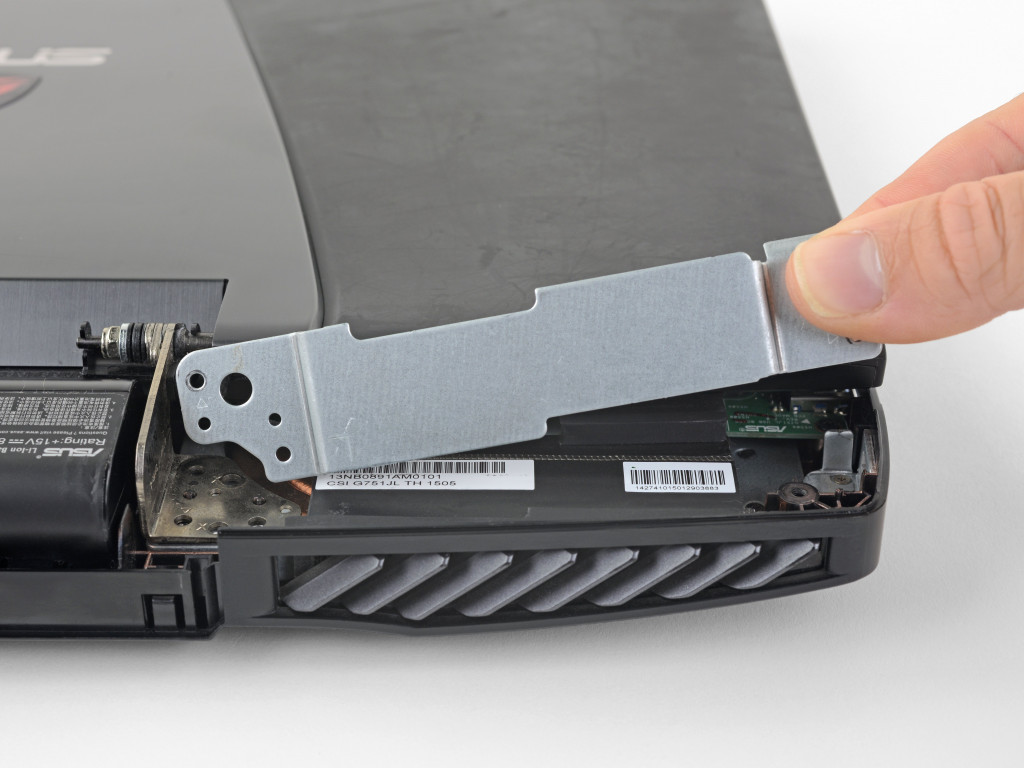
Шаг 20 Remove the upper case assembly
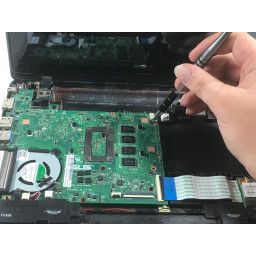
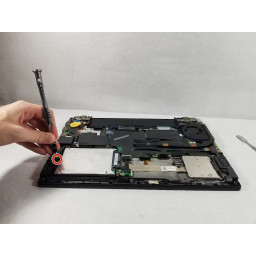
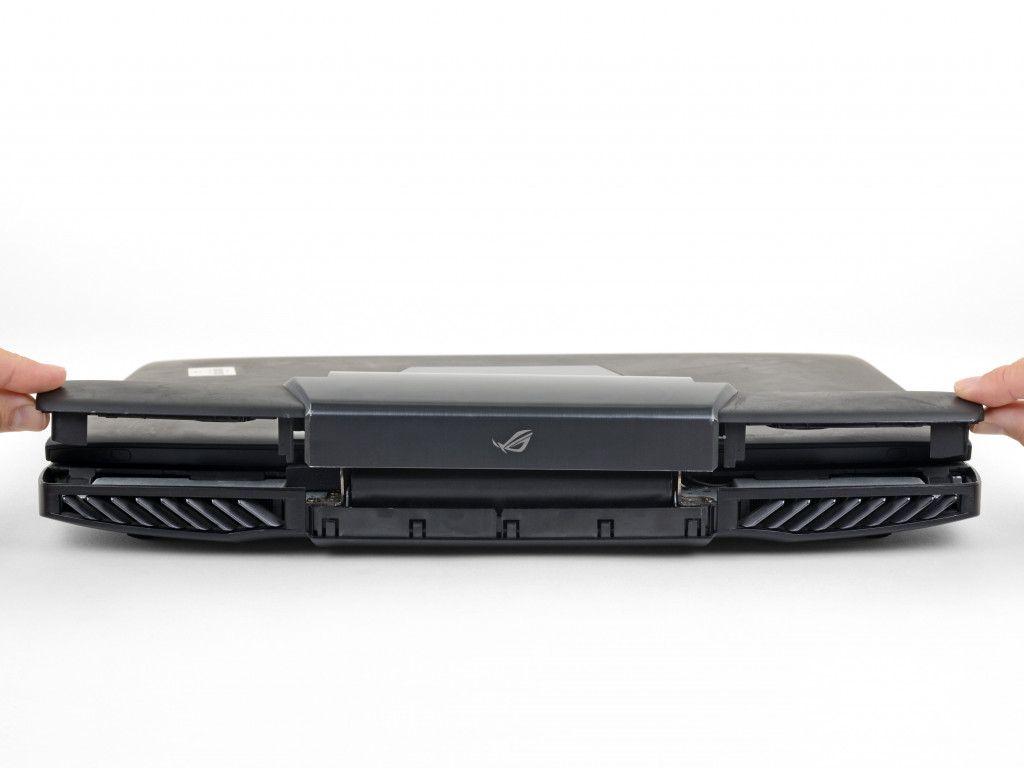
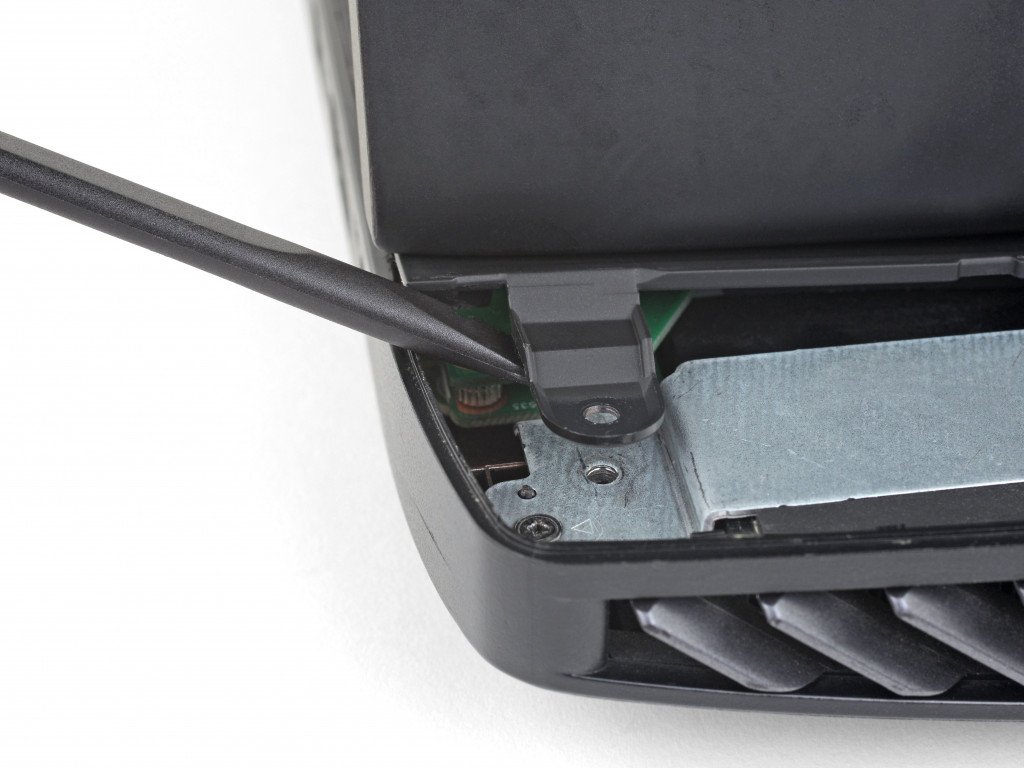
Use a spudger to pry against one of the screw tabs on the back of the upper case assembly.
Repeat this procedure with the other tab.
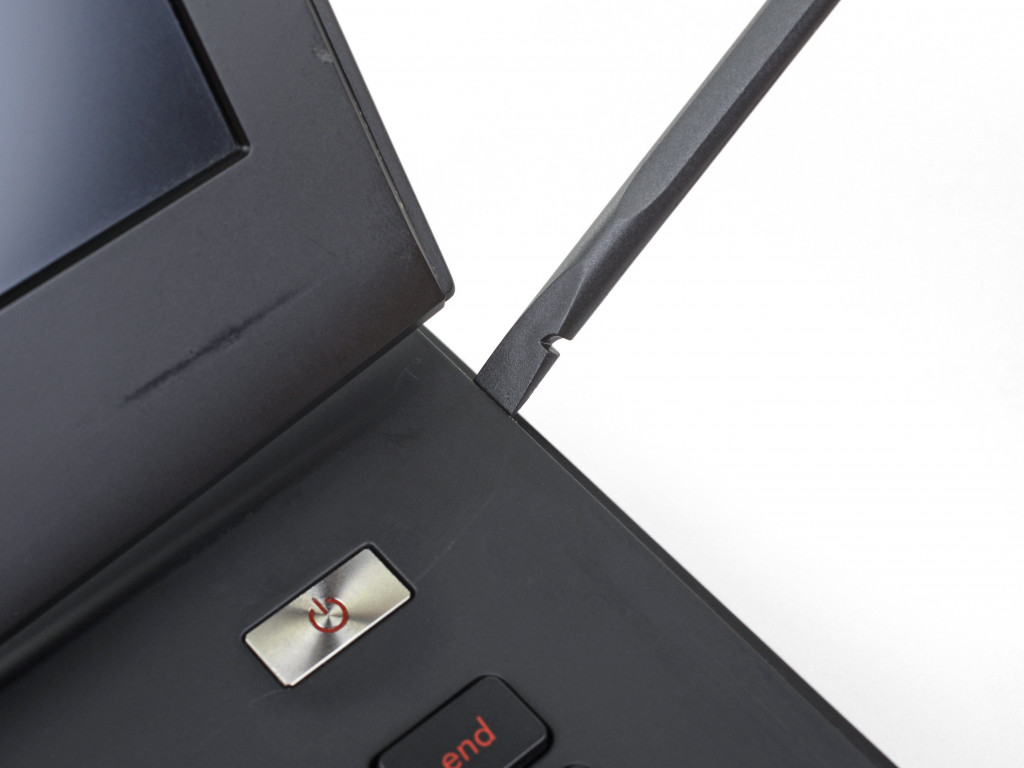
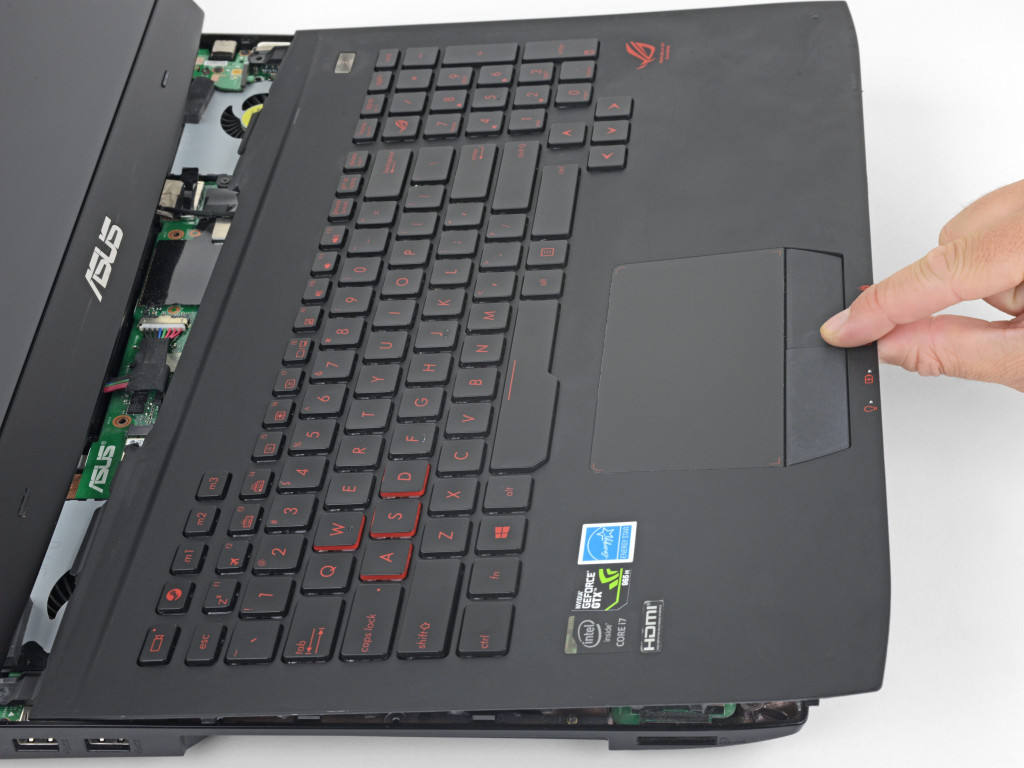
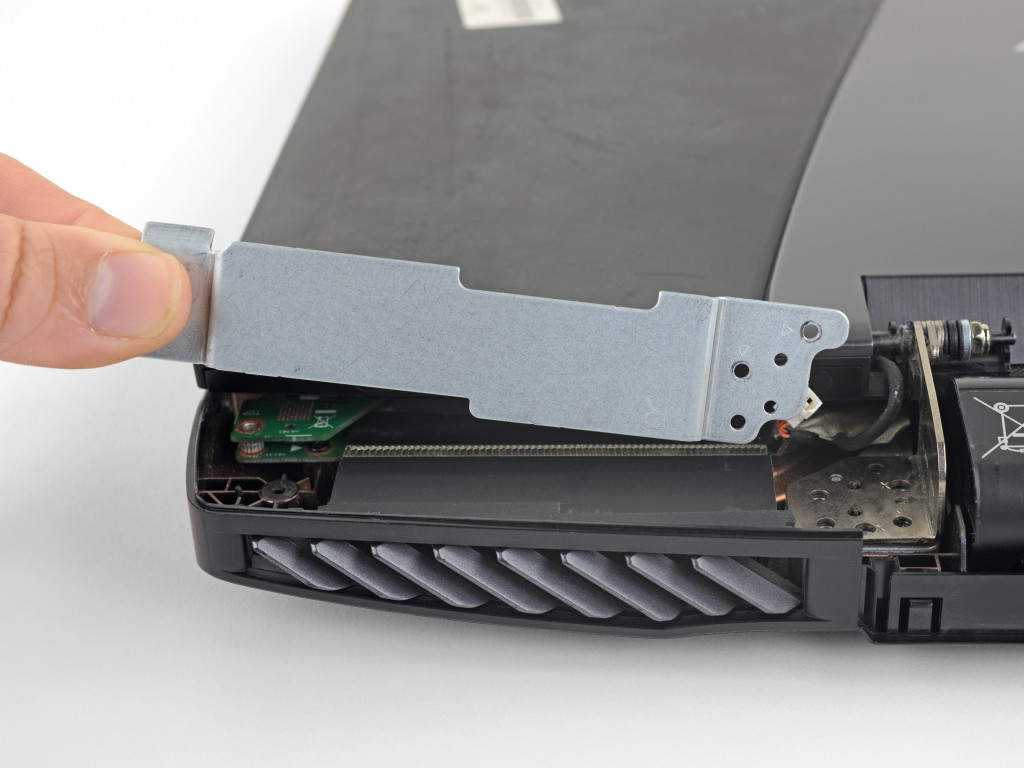
Шаг 21
If there's not a big enough gap, repeat the previous step until you have space to insert the spudger.
Шаг 22

Шаг 23
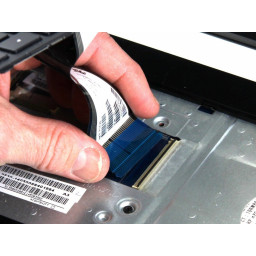
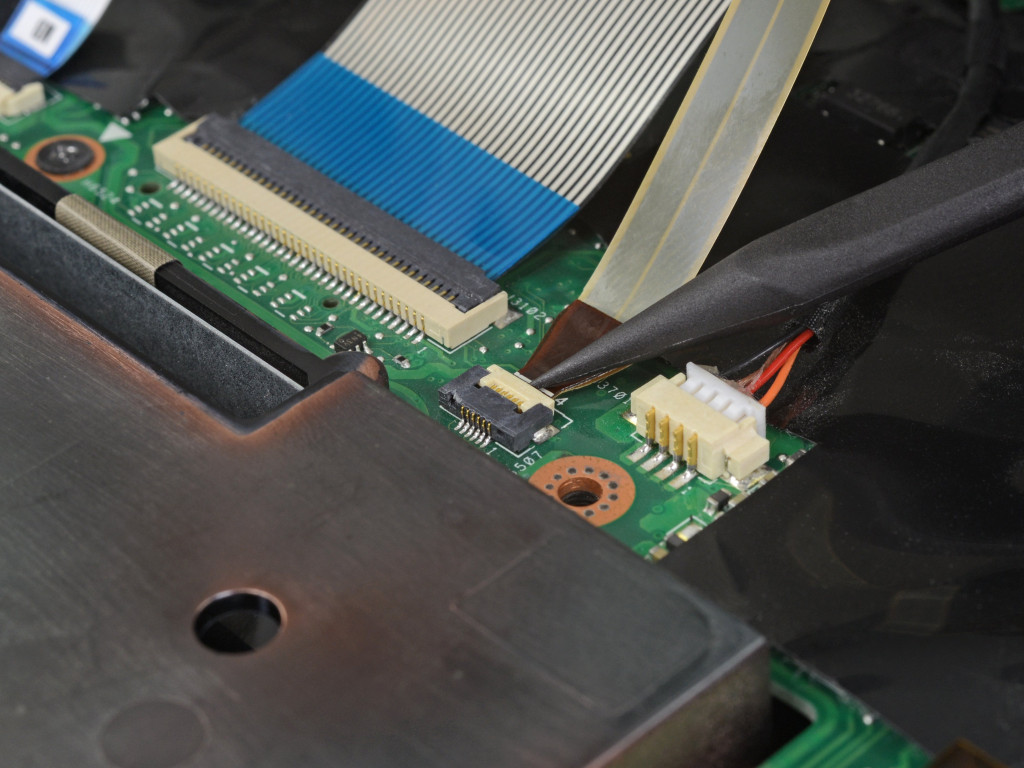
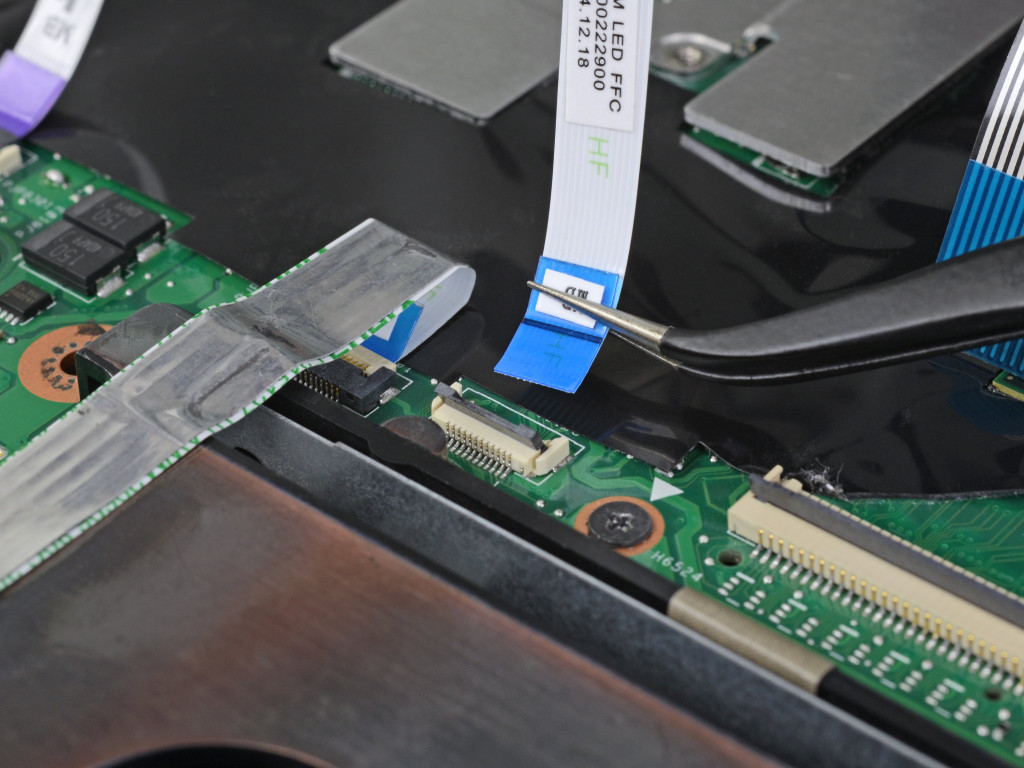
Шаг 24
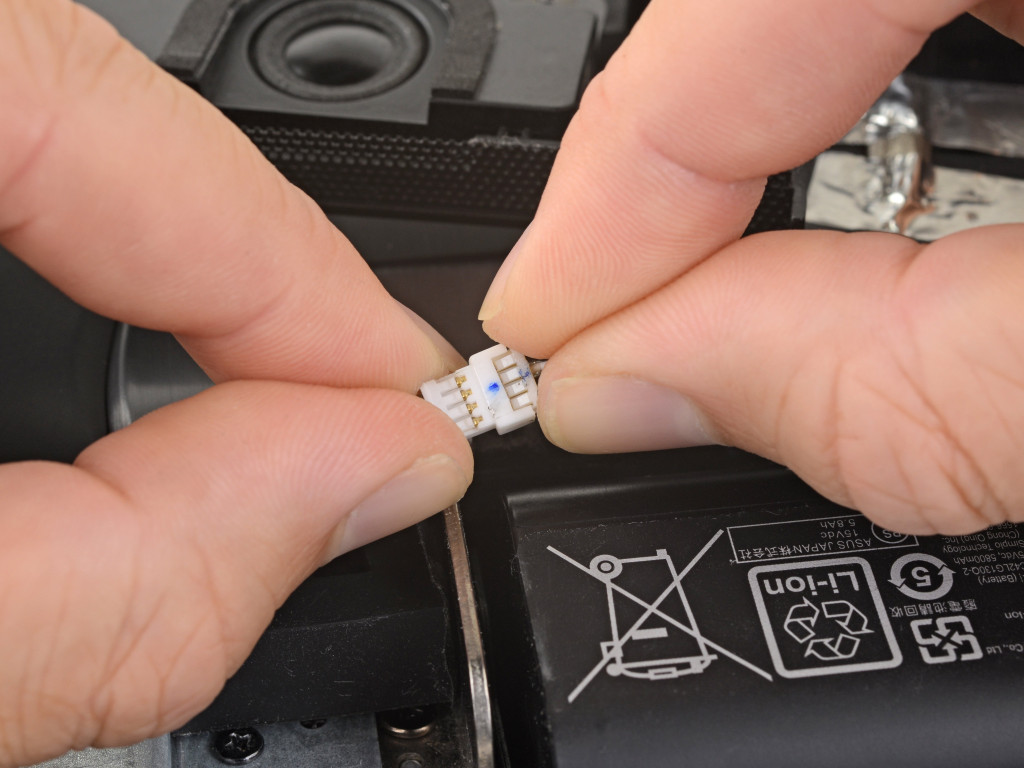
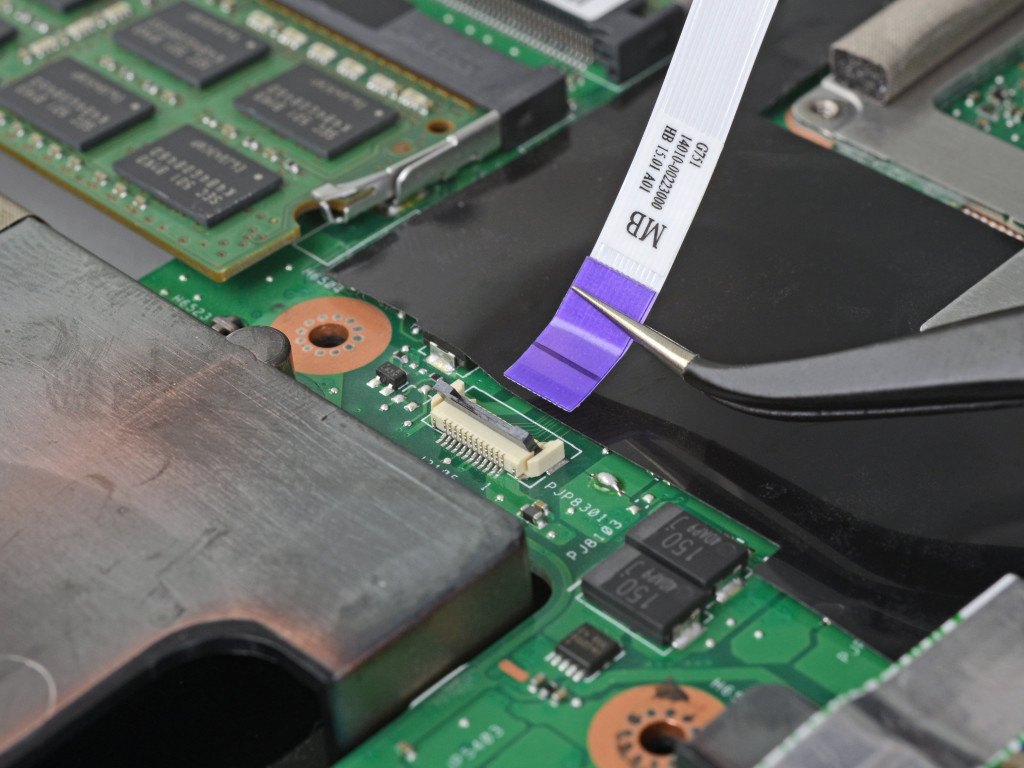
Gently pull the cable out of its socket.
Шаг 25
Шаг 26
Комментарии
Пока еще нет ниодного комментария, оставьте комментарий первым!
Также вас могут заинтересовать
Вам могут помочь
Nicom
г. Москва, ул.Мурановская, д.12, Мы на первом этаже жилого дома (Вход напротив автобусной остановки)
10:00–20:00
СЦ в Медведково
г. Москва, Студёный проезд, д.12 (Вход со стороны проезжей части. Вывеска "Сервисный центр")
10:00–20:00
Не работает ноутбук Asus?
Вызовите мастера или курьера на дом оформив заявку, она будет передана в подходящие мастерские.
Популярные инструкции